This kid-friendly project is not only fun to make but also delicious to eat. The recipe requires simple ingredients like red candy melts, holiday sprinkles, and twine and offers easy-to-follow instructions for creating 2-3” chocolate ornaments.
Perfect for festive decoration and gifting, these edible ornaments are a unique blend of creativity and taste.
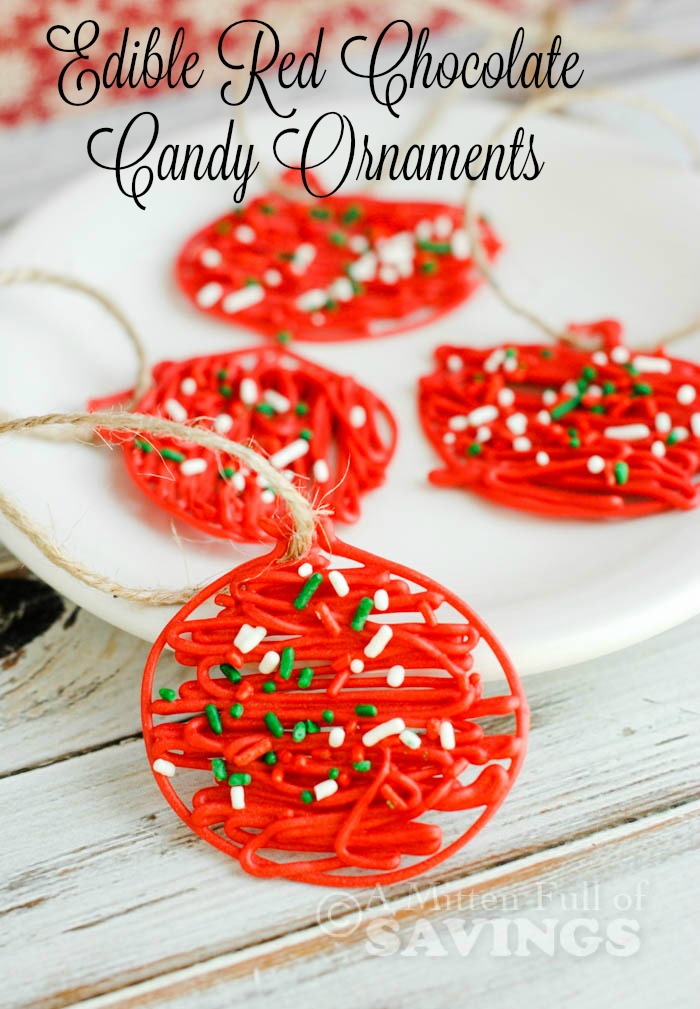
Here’s a fun, kid-friendly Christmas craft to do this season. Not only can the kids have fun making this craft, but they can eat it, too!
Edible Red Chocolate Candy Ornaments
Serving Size: 10-12
Ingredients needed:
- 12 oz. package of Wilton red candy melts
- holiday sprinkles
- twine or ribbon
- foil or parchment-lined baking sheet
- small sandwich baggie
- kitchen scissors
Directions to make your edible ornaments:
1. Pour about half of the red candy melts (6 oz) into a microwave-safe dish. Heat the melts in the microwave in 30-second increments. Stir every time the microwave stops. Do this until the candy is fully melted.
Allow the chocolate to cool for a few minutes before using.
2. After allowing the chocolate to cool for a few minutes, scoop it into the small sandwich baggie. Squeeze the extra air out and make a small snip in the corner using the scissors.
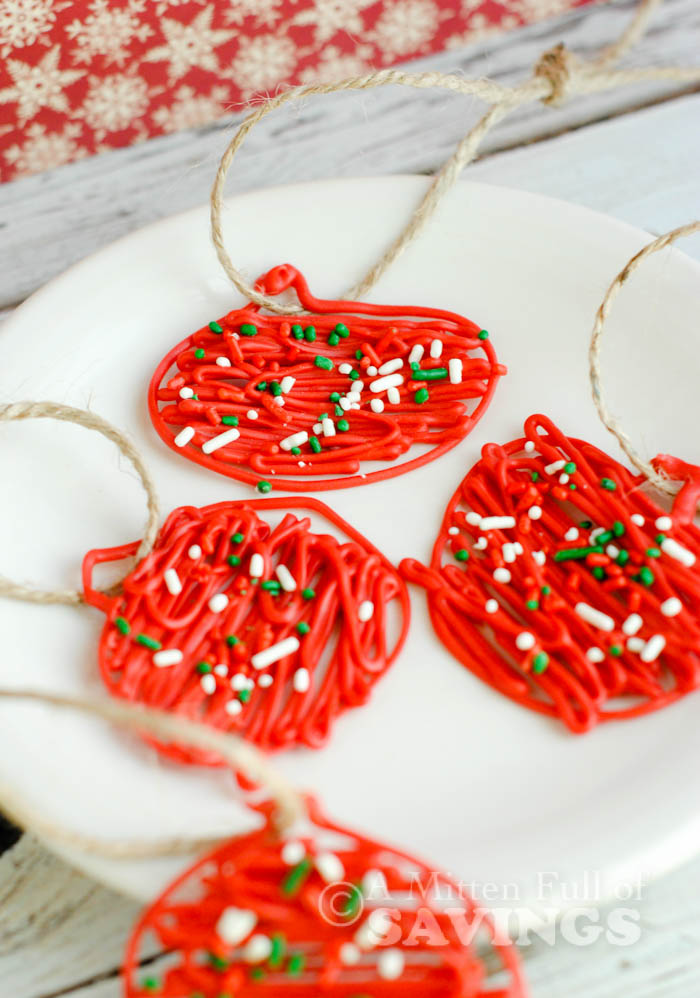
3. To make the chocolate ornaments, squeeze the sandwich bag gently and make a circle of red chocolate. Once your circle is mad, you can go back and forth with the baggie, filling it in.
Make a small loop at the top of the chocolate ornament for the ribbon or twine if you wish.
4. Repeat, using the rest of the chocolate.
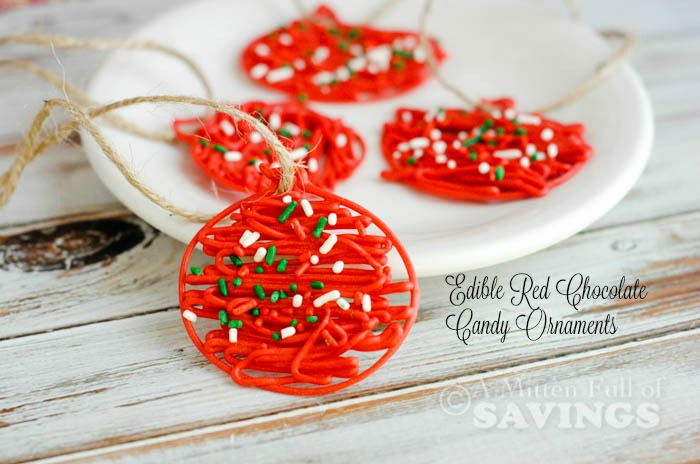
I made my ornaments about 2-3” big. I honestly wouldn’t go too much bigger because they are fragile if left out. Store it in the fridge until you serve it or give it as a gift.
^ oz melted chocolate makes approximately 10-12 2-3” ornaments.
More Holiday Recipes:
Frozen Inspired Hot Cocoa Recipe
White Chocolate Candy Ornaments

Edible Red Chocolate Candy Ornaments
Ingredients
- 12 oz. package of Wilton red candy melts
- holiday sprinkles
- twine or ribbon
- foil or parchment-lined baking sheet
- small sandwich baggie
- kitchen scissors
Instructions
- Pour about half of the red candy melts (6 oz) into a microwave-safe dish. Heat the melts in the microwave in 30-second increments. Stir every time the microwave stops. Do this until the candy is fully melted.
- Allow the chocolate to cool for a few minutes before using.
- After allowing the chocolate to cool for a few minutes, scoop it into the small sandwich baggie. Squeeze the extra air out and make a small snip in the corner using the scissors.
- To make the chocolate ornaments, squeeze the sandwich bag gently and make a circle of red chocolate. Once your circle is mad, you can go back and forth with the baggie, filling it in.
- Make a small loop at the top of the chocolate ornament for the ribbon or twine if you wish.
- Repeat, using the rest of the chocolate.
- I made my ornaments about 2-3” big. I honestly wouldn't go too much bigger because they are fragile if left out. Store it in the fridge until you serve it or give it as a gift.
Nutrition


Leave a Reply