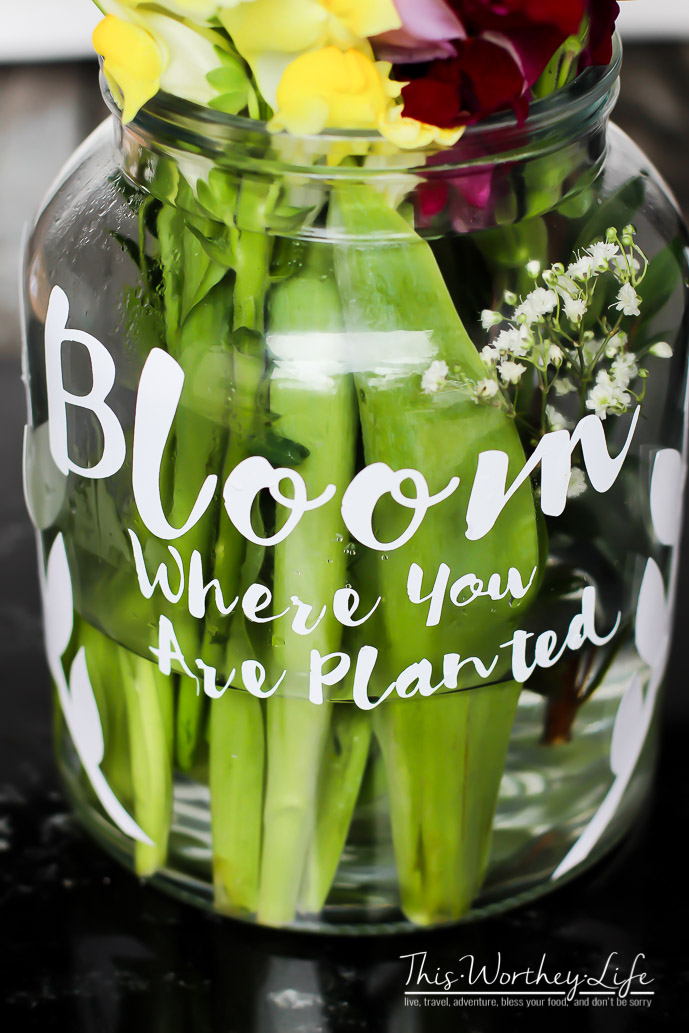
Create your own Bloom Where You’re Planted Mason Jar.
This is an easy DIY using a Mason Jar and your Cricut.
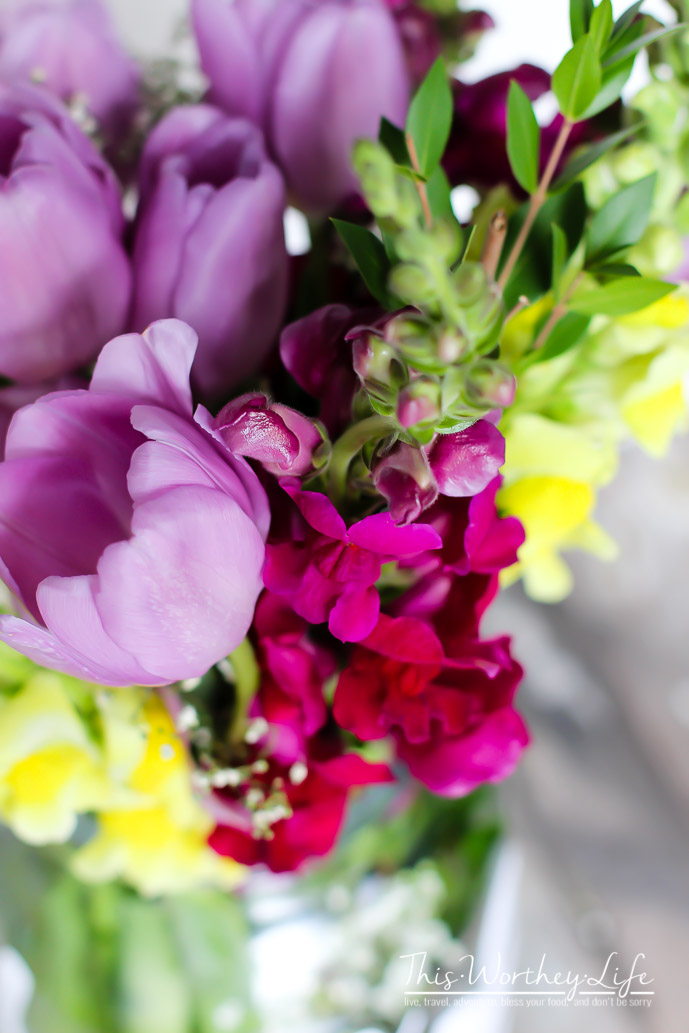
Add fresh flowers, and this jar is ready to use!
DIY Bloom Where You Are Planted Mason Jar Project
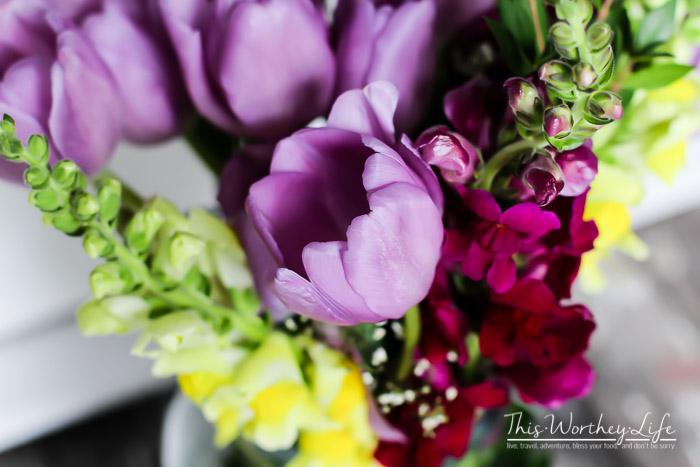
I love the smell of fresh flowers! Fresh flowers remind me of clean air and the signs that summer is just around the corner.
On a recent trip to one of my favorite stores (Oh hey, Target!), I noticed these big mason-type jugs.
I mean, Target purposely put them in the $1-$5 section, which is RIGHT at the front door (well played, Target, well played!).
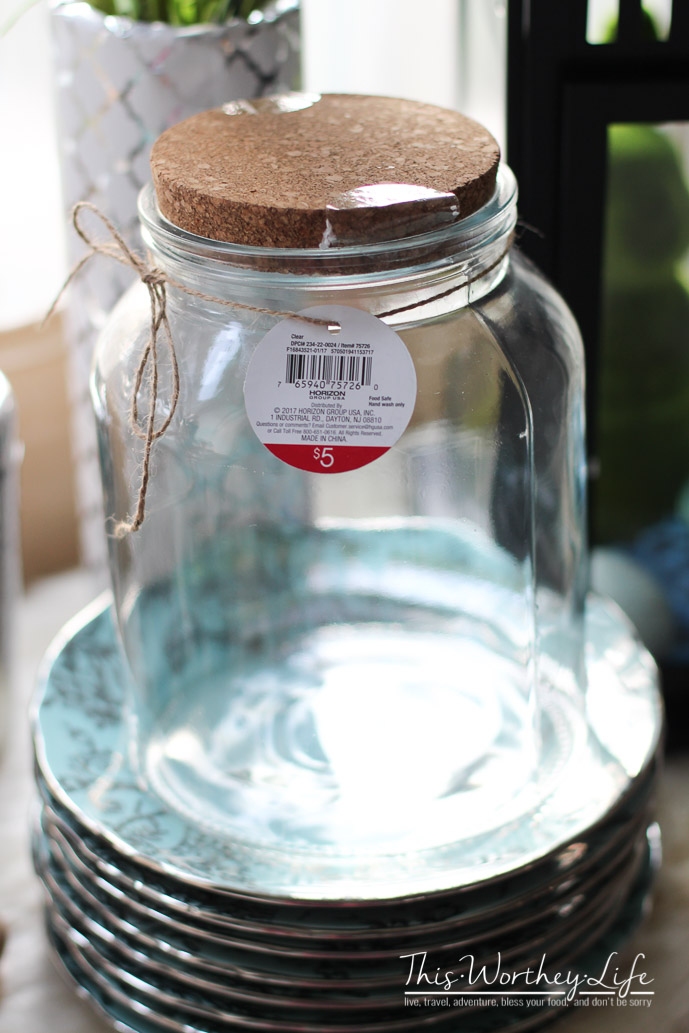
So, I had to pick one, two, four up to take home with me.
I wanted to pick up some fresh flowers from Horrock’s (a local Farmer’s market/store) and wanted something to put them in.
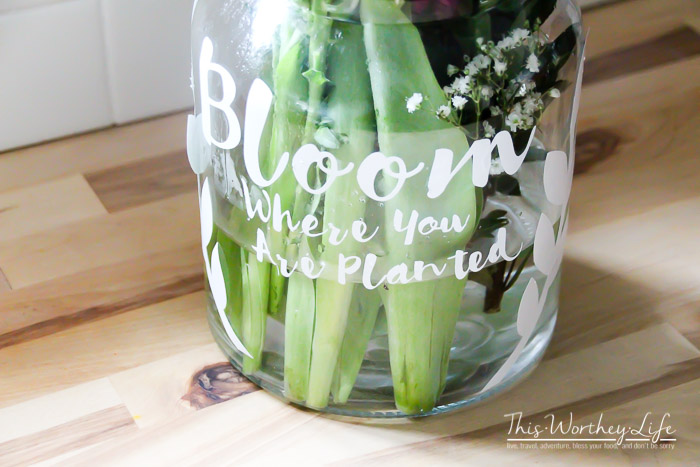
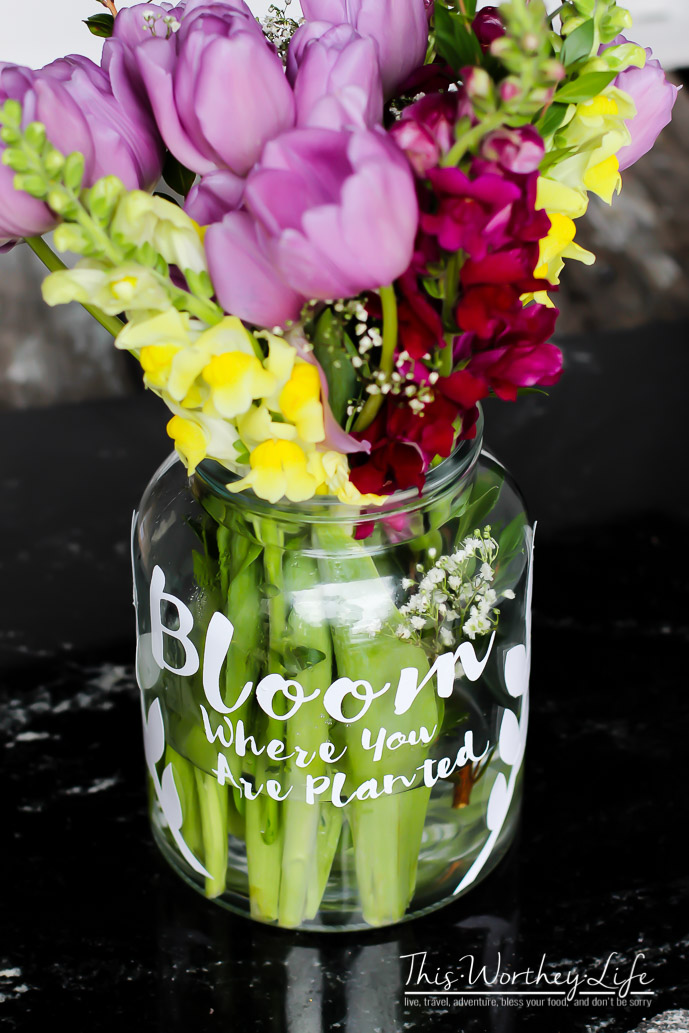
Then I thought it would be cool to pull out the Cricut and add a quote to the jar. “Bloom where you are planted” was the quote that came to mind.
Sometimes in life, we get stuck. Life happens and will continue to pour down one thing or another.
Over the past few years of losing both of my parents, discovering my poor-performing thyroid, going through a miscarriage, and other life craziness, I got stuck.
One thing I learned about life is this life doesn’t wait for you. People don’t wait for you.
While wallowing in my depressing thoughts, grief, and loneliness, life kept going.
People kept moving all around me. I had to make a decision. I can keep feeling stuck, or I could do something about it.
It wasn’t easy, but I decided to bloom where I was planted.
There was ugliness all around me, but life wouldn’t keep stepping on me, zooming by in a rush to crush someone else.
How we react to things helps define us as a stronger person or a defeated human being.
My parents didn’t raise a quitter, so I pulled myself up and learned how to move on with my life.
Since receiving my Cricut, I have been learning how to use it. And boy, is this thing a lot of FUN!
There are so many cool projects you can do with a Cricut. I have a list of projects I want to tackle this summer and plan to use my machine to help me out.
I will show how to make this easy DIY Bloom Where You Are Planted Mason Jar below!
Step 1. Pick out your mason jar (or jug, in this case). I picked this one up for $5 bucks at my local Target store. You can find a similar one here.
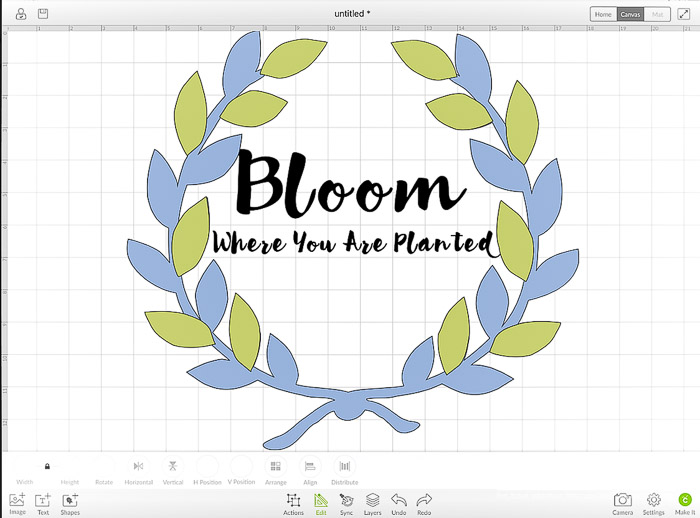
Step 2. Depending on the size of your jar/jug will determine the size of your lettering. My Cricut Air is synced to my iPad Pro. Opening up the Cricut app, I went to the design store to find the type of lettering I was looking for and a possible design. I used the design Flower Wreath #M44337 (and changed the dimensions to 10.7 x 10)
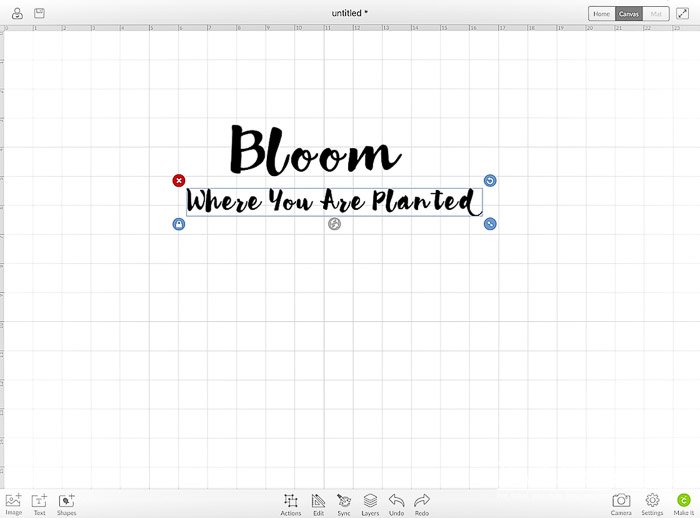
Step 3. Once I selected the Flower Wreath design, I added lettering using the Lipstick Lettering Font. Font Size for Bloom lettering: 255.4 size with dimensions at 6.4 x 1.9. Letter space 2.4. Line space 1.1.
Size for Where You Are Planted 98.3 font size. Dimensions: 4.9 x 1.7. With a 2.3 line space and 1.4 letter space.
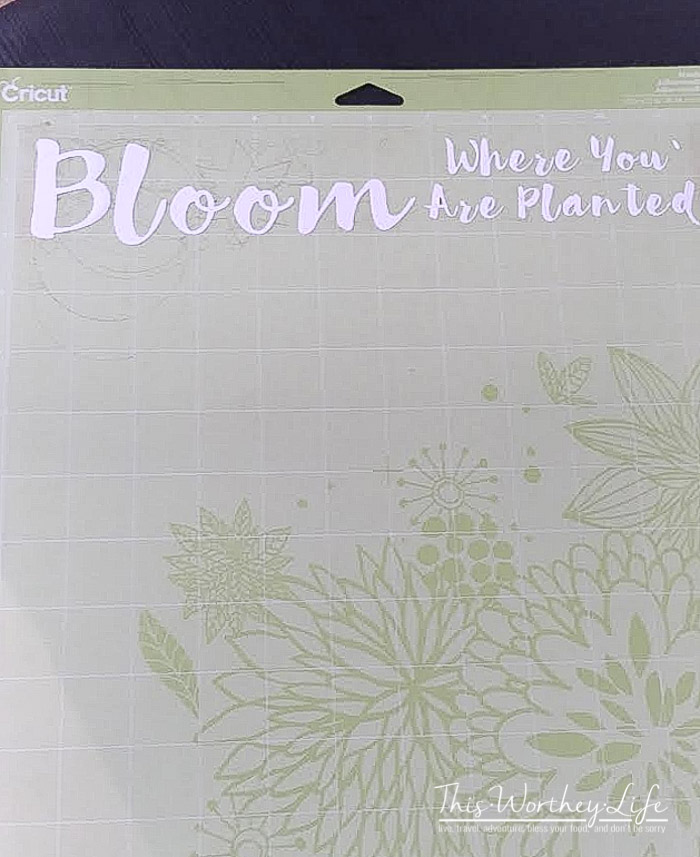
Step 4. Once I had my design formatted to my liking, I sent it to be cut. I printed it on white vinyl.
All the lettering is printed on a piece of Vinyl. It’s important to have a few cutting mats.
Once the lettering was finished, I used another mat to put a piece of white vinyl on for the flower wreath and sent it to be cut with the machine.
Step 5. Once the letters and design were finished printing, it was time to put the design on my jar.
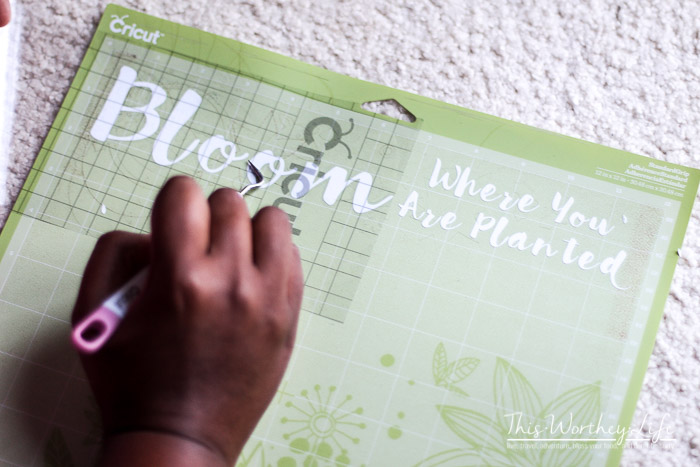
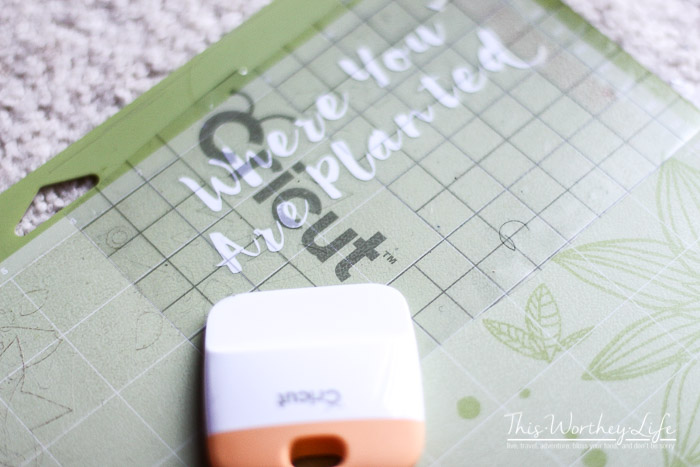
Step 6. This step is VERY important. Remove the negative pieces from each of the images using the hook found in the Cricut Tool Kit (also known as weeding).
It’s time to apply the transfer tape. Remove the liner from the transfer tape and gently place it over the flower wreath image.
Start in the center and move out to smooth the edges. Peel the vinyl away from the liner at a 45″ angle. (You will repeat this process for the lettering on the other mat).
*if the vinyl sticks to the liner, burnish the transfer tape onto the vinyl again and then continue to peel the vinyl away.
The flower wreath was pretty easy to come off and apply. The letters, however, wanted to keep sticking to the mat.
I had to reapply the vinyl a few times to get it all to come off intact.
Step 7. Once the letters are on the transfer tape, it’s time to apply them to the jar (make sure this surface is clean and dry).
Carefully place the transfer tape with the vinyl letters BLOOM onto the jar. Since it’s a round shape, decide where you want the center for the letter BLOOM. \Once it’s on, start in the center and move out towards the ends.
You can use the scraper to help brush the vinyl to the glass.
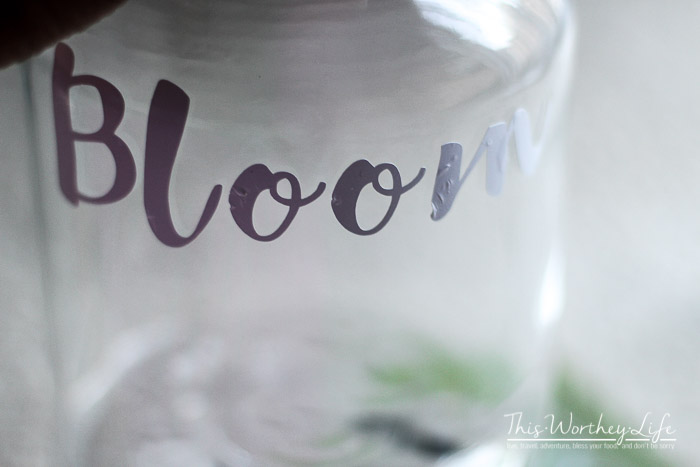
Step 8. Once the letters are on, slowly peel away the transfer tape at a 45″ angle.
If the vinyl starts to stick, burnish the vinyl onto the surface again, then peel it away.
Go back and repeat this for the other letters.
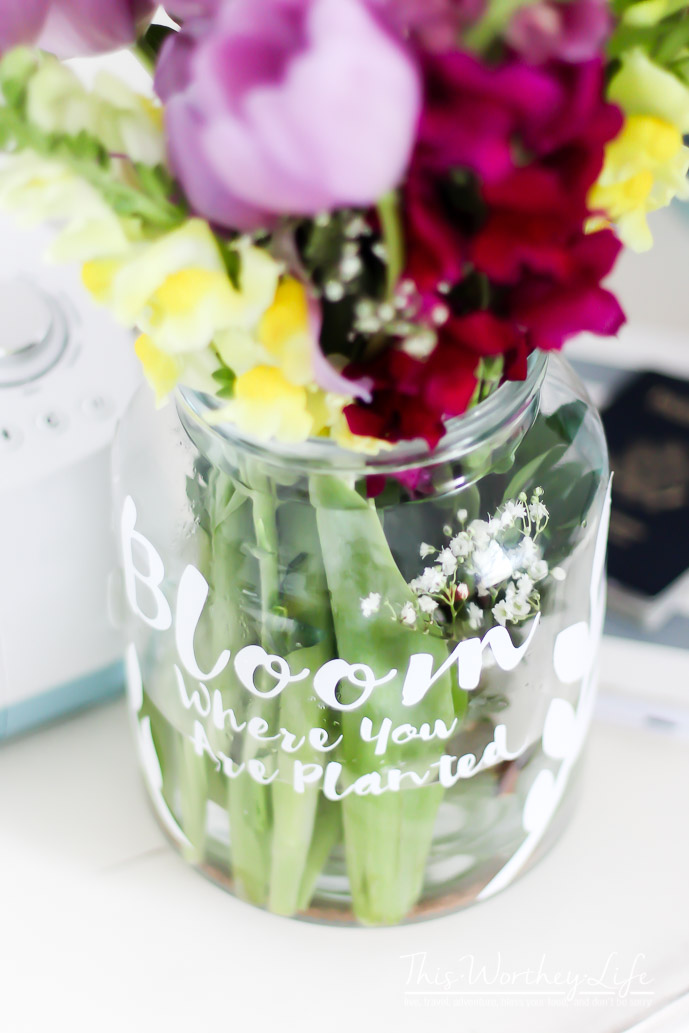
For the flower wreath, once I had it in my hands, I realized my dimensions were WAY off! (lol).
Instead of going back to make a new, smaller wreath, I decided to do something different. I cut the wreath into a few pieces and then placed one on each side of the letters. BOOM! This worked perfectly!
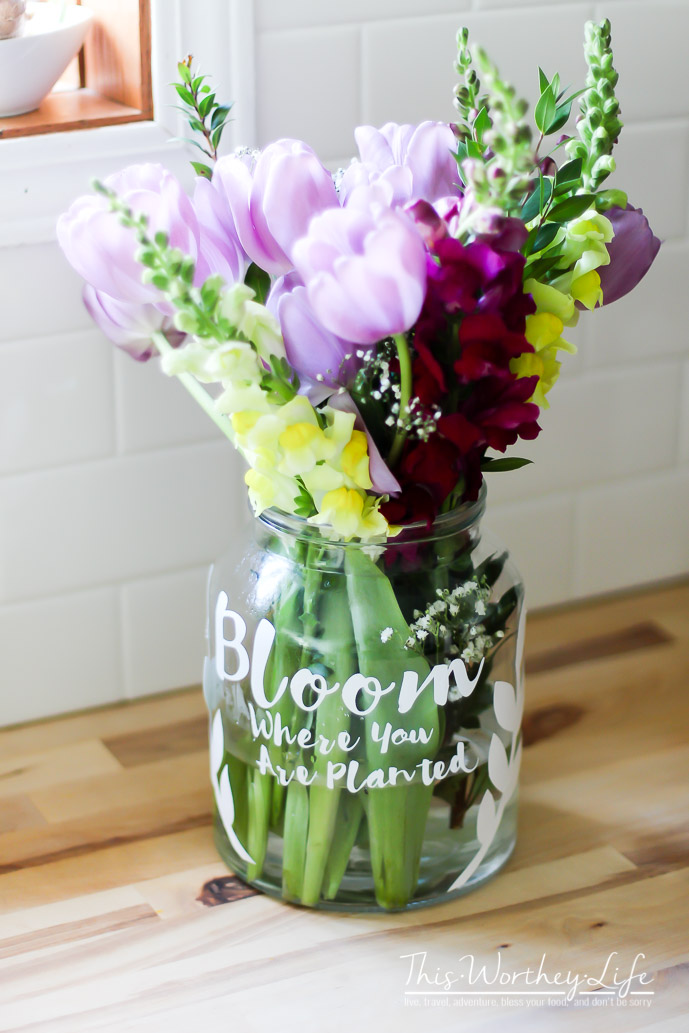
Now, add some water + fresh flowers, and this project is complete! I loved how it turned out.
I’ve only made a few projects using lettering, but I am getting the hang of how this works, and it’s a lot of fun!
What have you made with your Cricut lately? Drop a line below and let me know! And be sure to pin this Bloom Where You Are Planted Mason Jar Project to your Pinterest board!

Find more Cricut Projects shared below:
Plant Daddy Mug | Cricut Joy Project
DIY Coffee Mug With Vinyl Statement Using A Cricut


AnnMarie John says
My Cricut has just been sitting there collecting dust. The last time I used it, I was doing Valentine Day jars. I might have to bring mine out for Father’s Day. I recently did this quote as a printable the other day and it’s still one of my favorite. Let that negativity just fall around you and “bloom where you’re planted”.