These Paper Bow Magnets are so much fun to make! Using your Cricut machine makes this project a total breeze!
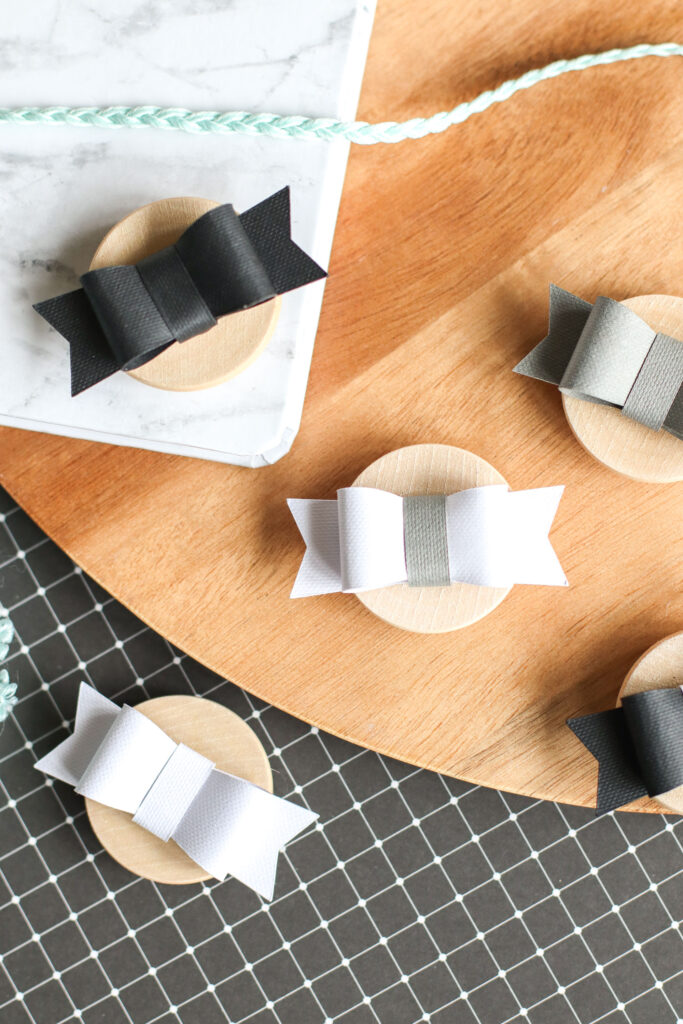
Pretty Paper Bow Magnets DIY With Cricut
Can we all just agree that these adorable Paper Bow Magnets are a MUST for you to make? They’re super simple to do and being able to use your Cricut makes it a total breeze as well. The next time that you’re feeling creative and wanting to take on a simple project that will feel like it reaps big rewards, these paper bow magnets need to be on your crafting radar.
Be sure to check out these Cricut craft ideas:
- Fresh Baked Pies Sign Using A Cricut
- DIY Mini Potted Paper Cactus Using Your Cricut
- DIY Happy New Year Headband Made With A Cricut
This is a simple craft idea, so if you’ve been wanting to try more projects with your Cricut, add this one to your list. While there might be several steps, in the beginning, they’re easy to do and you can easily get into quite the flow as well.
Why not see how many paper bow magnets you can make and then use them as you wish? They’re really cute, really fun, and are the perfect way to let out a few of your creative juices, too.
Materials Needed for this Cricut Paper Bow Magnets
- Bow SVG or PDF for cutting by hand
- Cricut Maker (or other Cricut cutting machine) with Fine Point Blade
- Cricut Standard Grip Mat
- Cardstock paper in black, white, and grey
- Wood circles (1.25” diameter)
- Wood dowel, 0.25” thickness (or any similar size)
- Scissors
- Hot Glue Gun with clear glue sticks
- Ceramic Magnets, 0.75”
Instructions on making Pretty Paper Bow Magnets with your Cricut
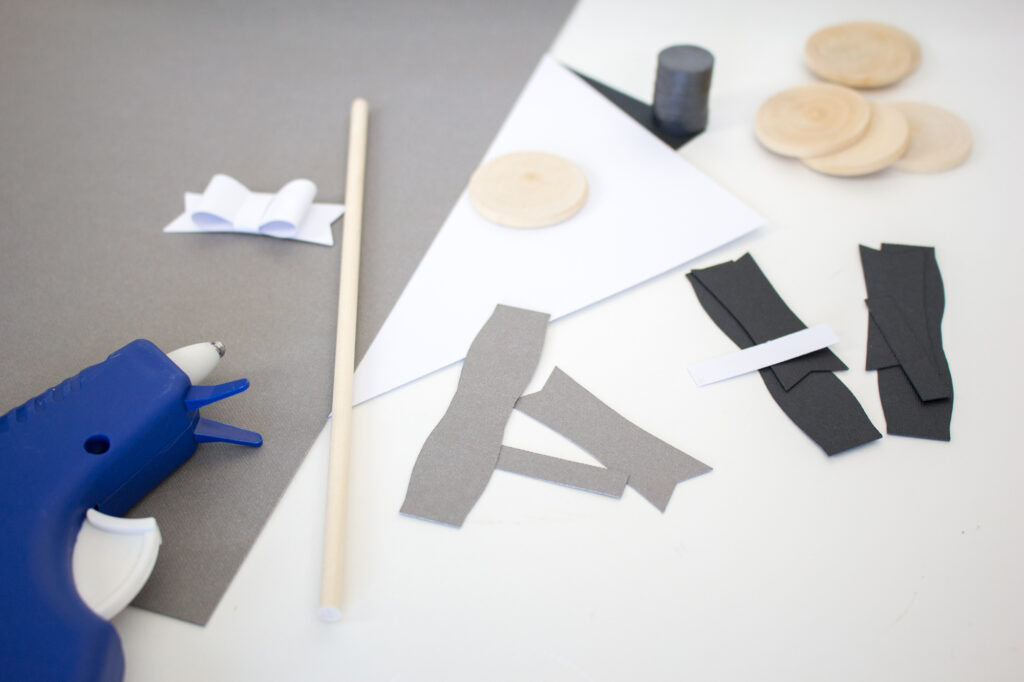
- Gather supplies
Uploading the Bow SVG File
- Open Cricut Design Space.
- Click on the “+” sign to start a new project, opening up a blank canvas.
- Click on the Upload button from the toolbar to insert the downloaded Bow SVG file onto the canvas.
- Maintain the size of the shapes.
- Move to the color sync tab to see all the pieces sorted by color and adjust if desired to match your cardstock paper color.
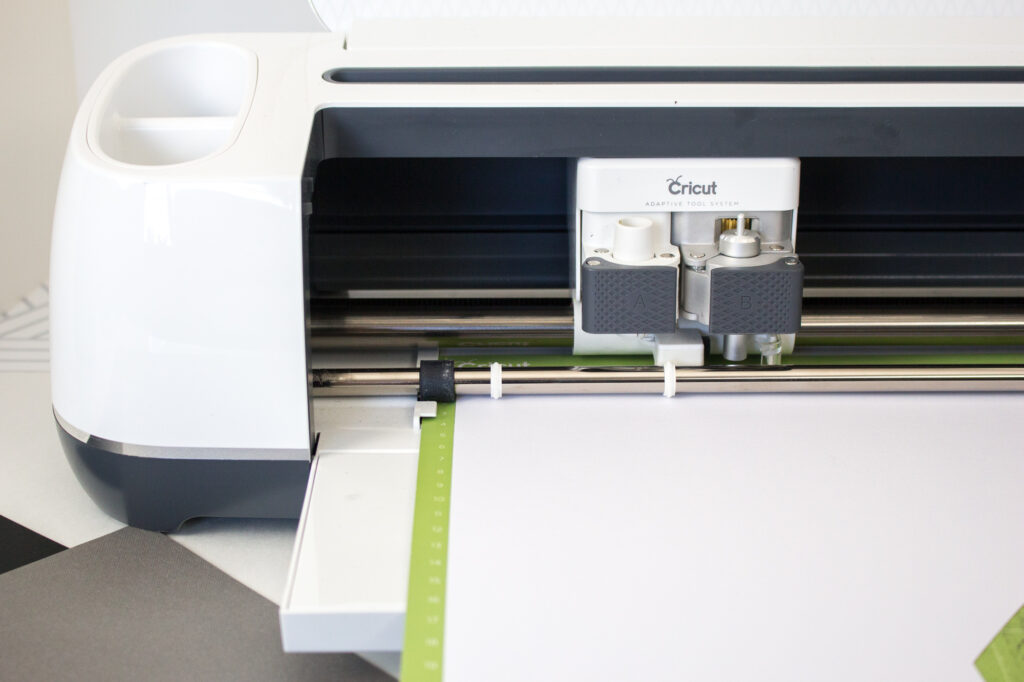
Cutting the design
- With the machine set to Cricut Maker, select “Make It” in Design Space.
- Set material type to Medium Cardstock, choosing the appropriate weight based on your paper.
- Place the first paper color onto the standard grip mat.
- Follow prompts for loading cardstock paper into Cricut Maker and cutting. When the cut is complete, unload the mat from the machine.
- Remove the cut pieces from the cutting mat.
- Repeat for the remaining bow pieces and papers.
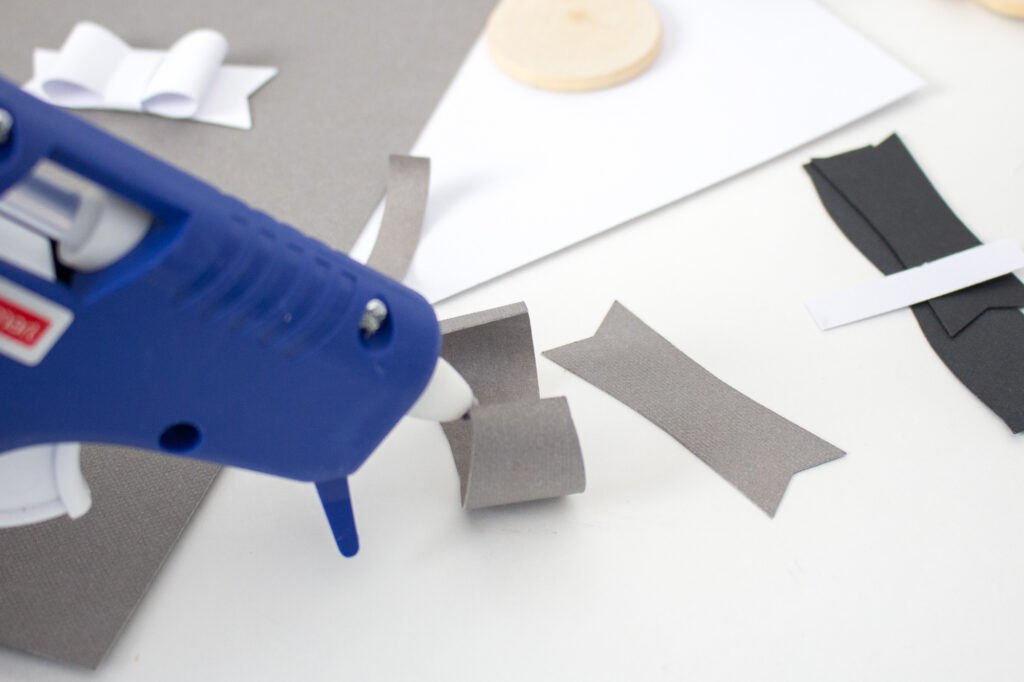
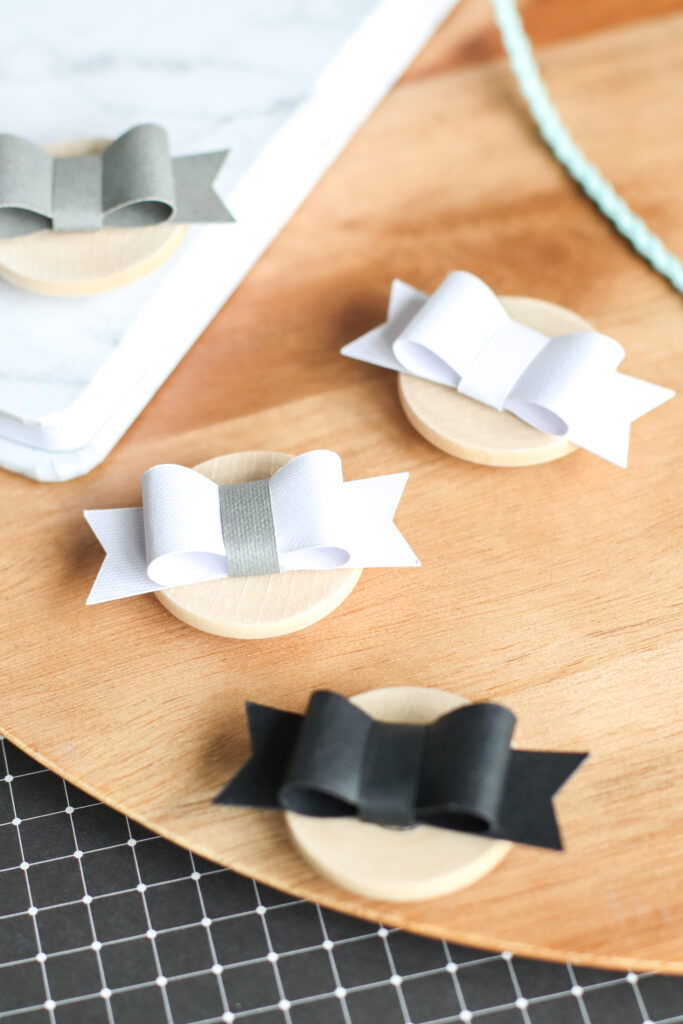
Assembling the Paper Magnet Bows
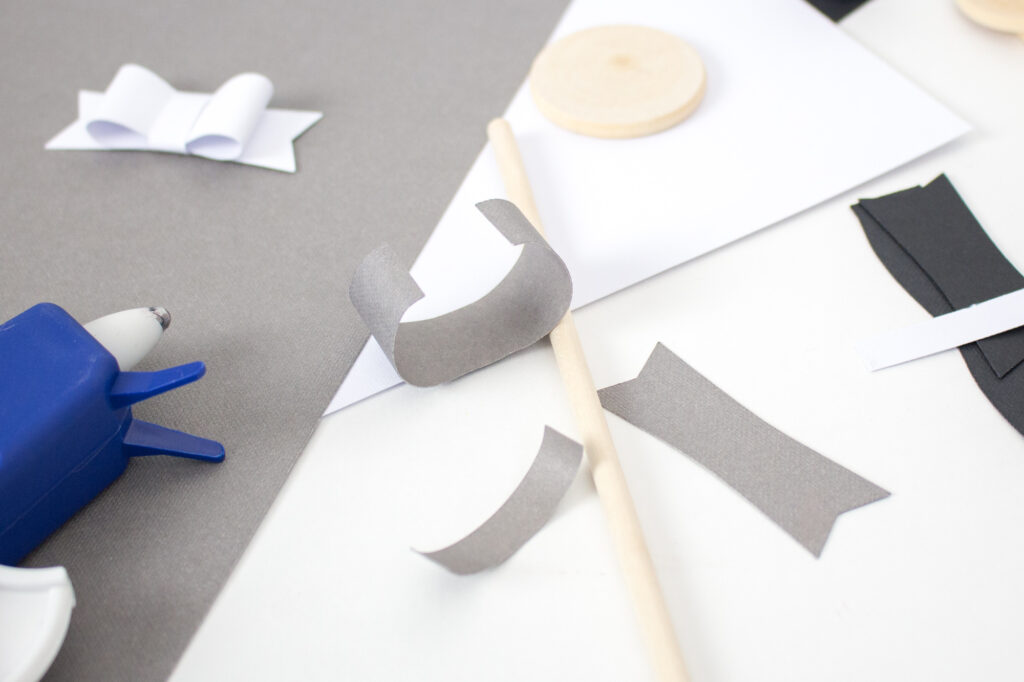
- Each bow consists of 3 pieces. Using the wood dowel, gently curl the edges of the largest and smallest bow pieces as shown.

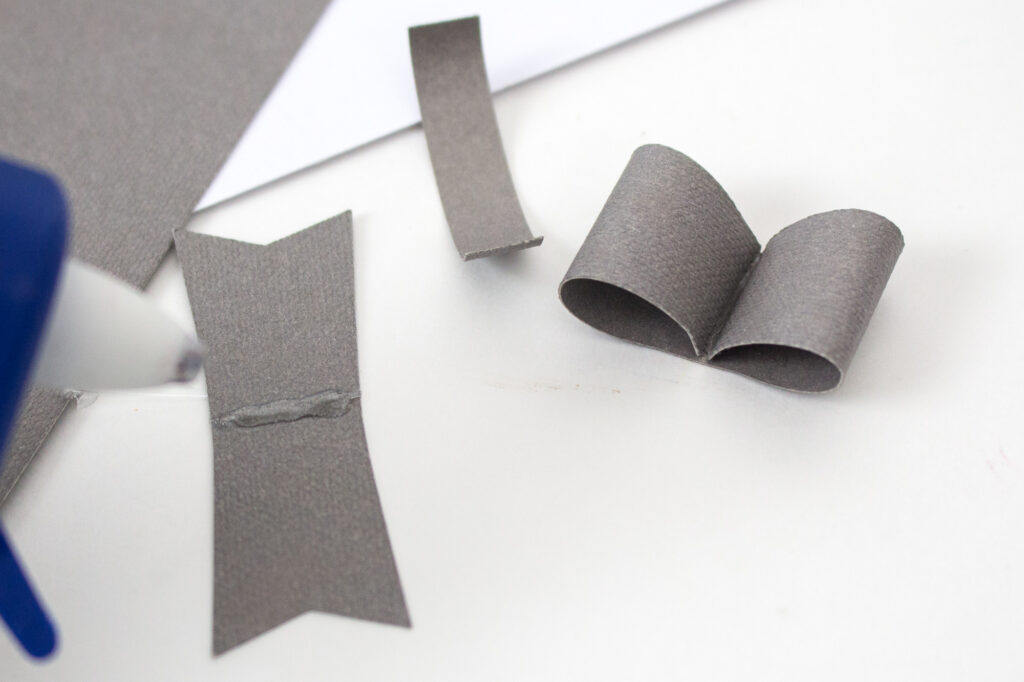
- Apply a bead of hot glue to the center of the largest bow piece and press the ends into the glue to form the bow loops. Hold in place until glue sets.
- Apply a dab of hot glue to the center of the uncurled bow piece (the piece with the “v” ends) and press the flat side of the looped piece on top.

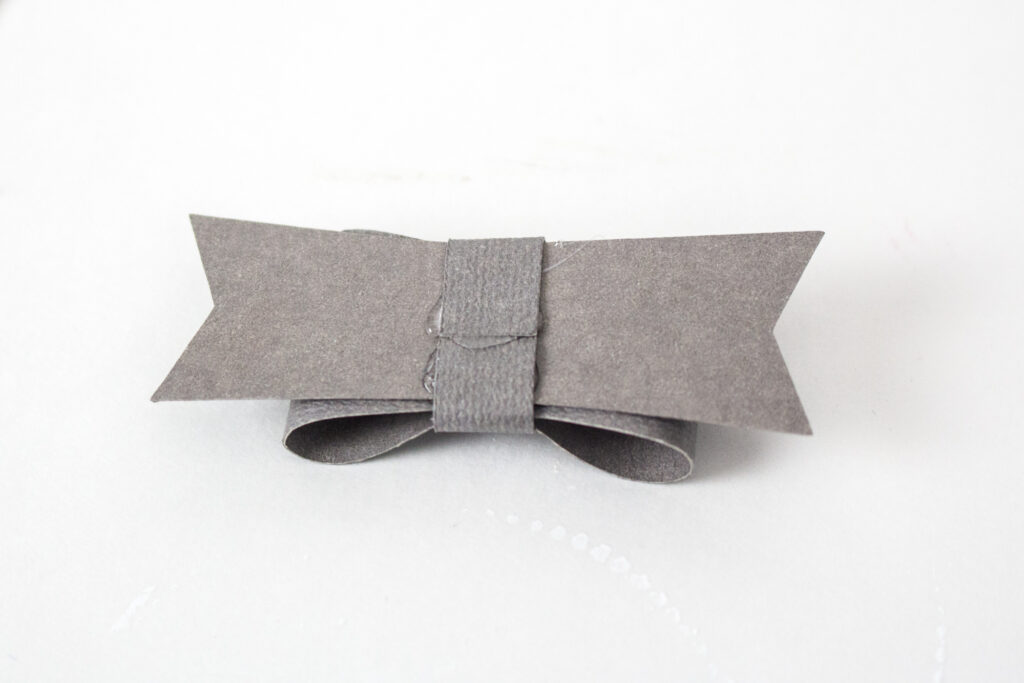
- Glue one end of the curled rectangular piece to the backside of the prepared bow and then wrap it snugly around the center and glue the other end in place to hold the shape.
- Repeat with the remaining cut pieces to make more bows.
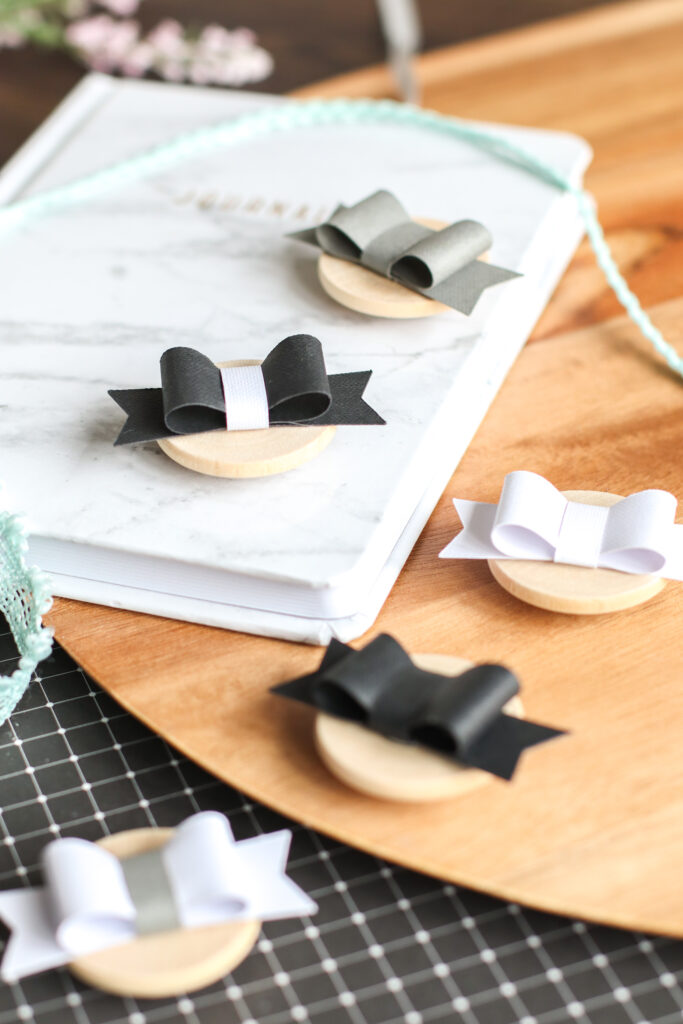
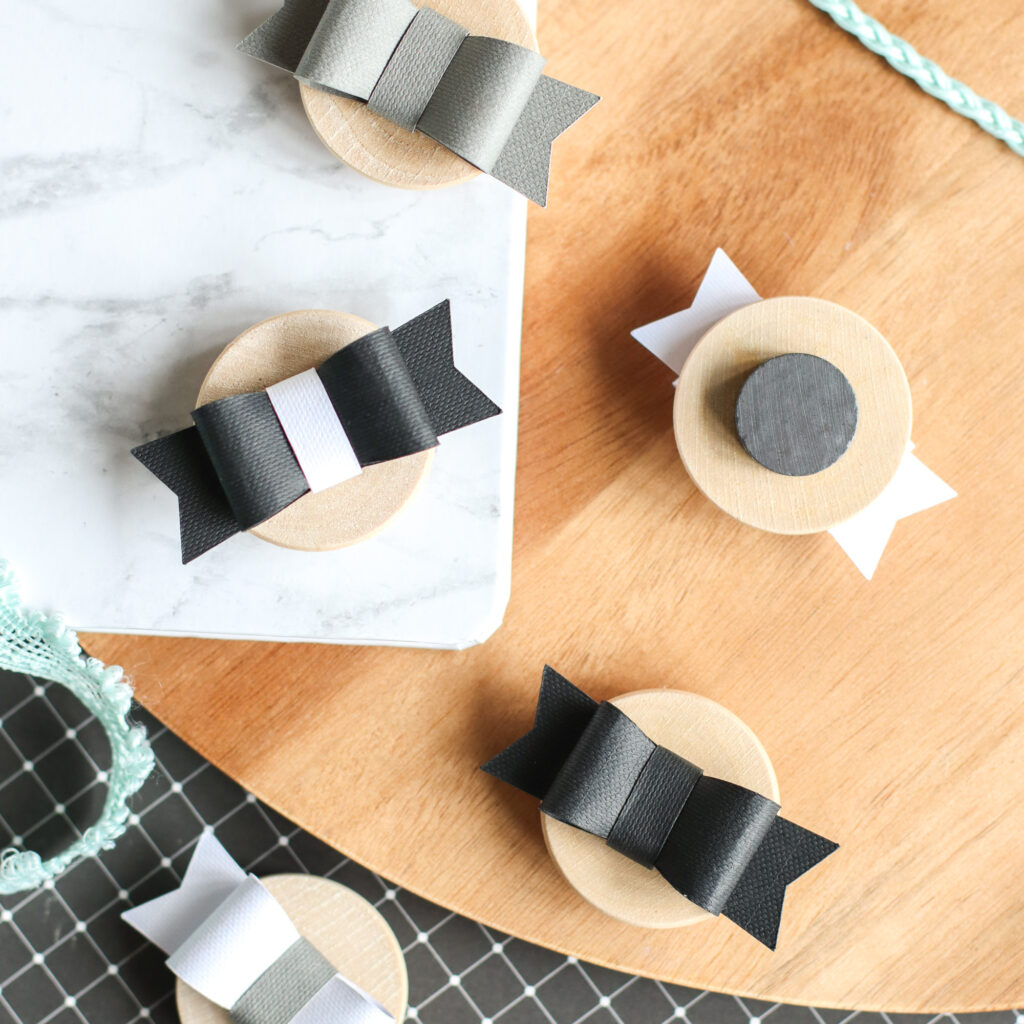
Making the Bow Magnets
- Glue the backside of each bow to one wood circle piece.
- Glue the magnet to the backside of the wood circle to finish. Repeat for all remaining magnets.
See how simple and easy this project is? There’s no reason you can’t make this project a reality for you as well! Have fun and remember to take it slow. Once you get the hang of it, you’ll be creating them faster than you know what to do with!


Leave a Reply