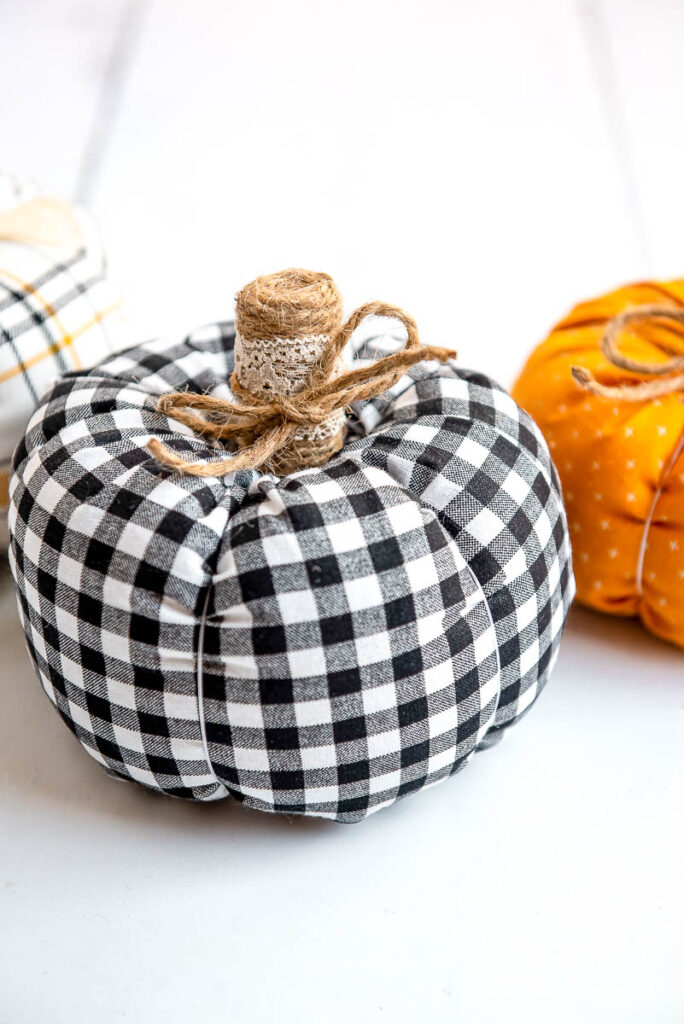
Ready to learn how to DIY Fabric Pumpkins for your simple home decor?
You’ll love how much fun these fabric pumpkins are to make.
Why spend money at the store when you can easily make your own at home?
All you need are a few simple supplies to get started.
Get the step-by-step directions for these DIY Fabric Pumpkins below.
DIY Pumpkins made from Fabric
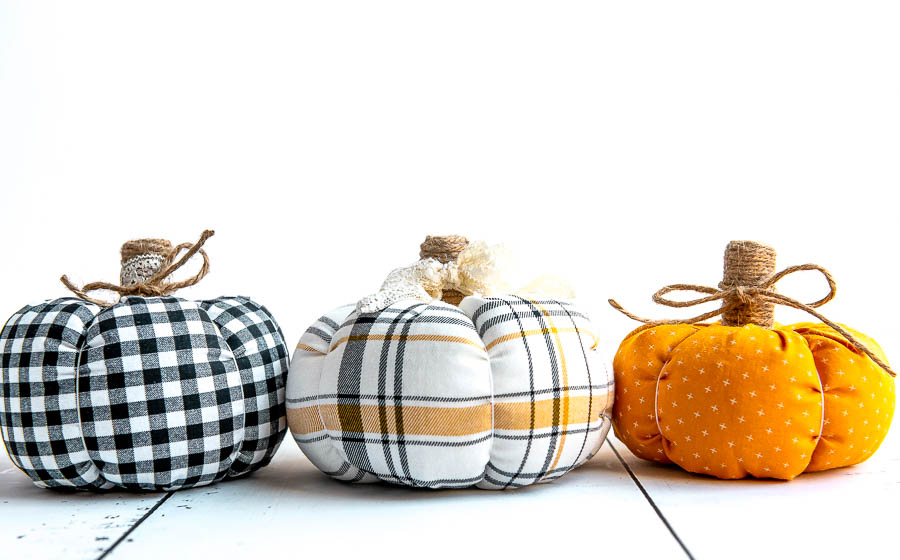
Making your Fall decor at home and fall in love with how they look.
You can easily make your DIY Fabric Pumpkins with lovely Fall decor set out and ready to love in just a few simple steps.
Make certain that you change up the patterns so that you can change up the look and feel.
And let the kids join in on the fun, too.
You can easily sit with them and make it a fun craft time with a little adult supervision.
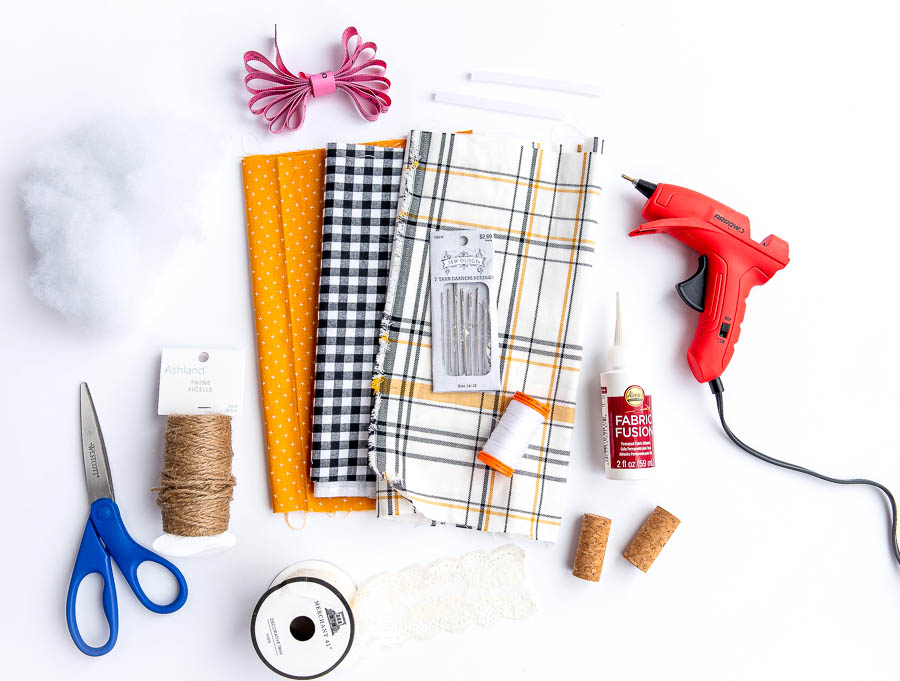
Supplies you need for Fabric Pumpkins
- 1/4 yard fabric (color or a pattern of choice)
- Embroidery thread
- Hand sewing needles
- Fabric fusion
- Corks
- Hot glue gun and glue sticks
- Scissors
- Bag of polyfill
- Twine
- Ribbon or lace
- Seamstress measuring tape
How To Make A Fabric Pumpkin DIY
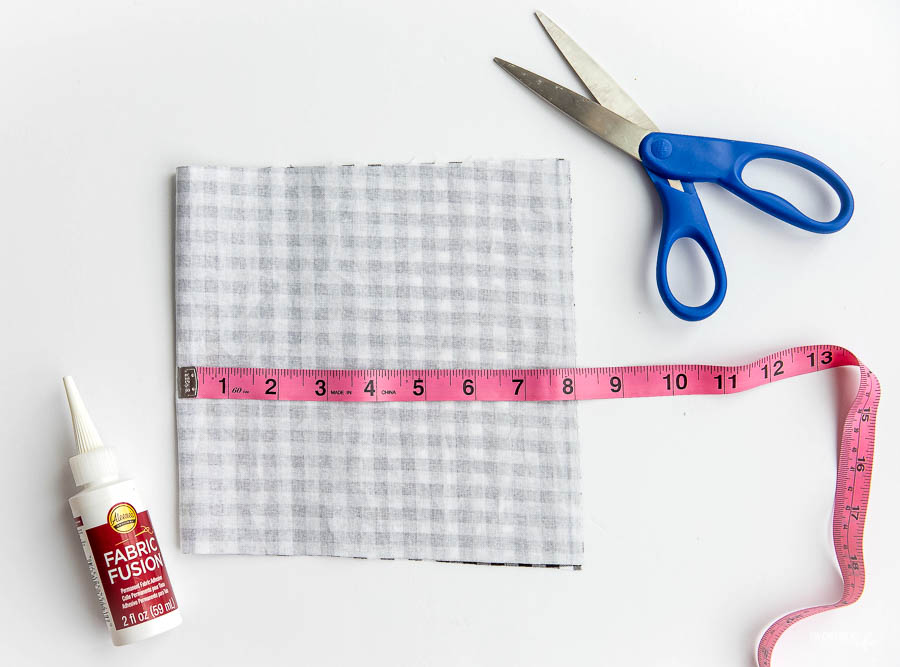
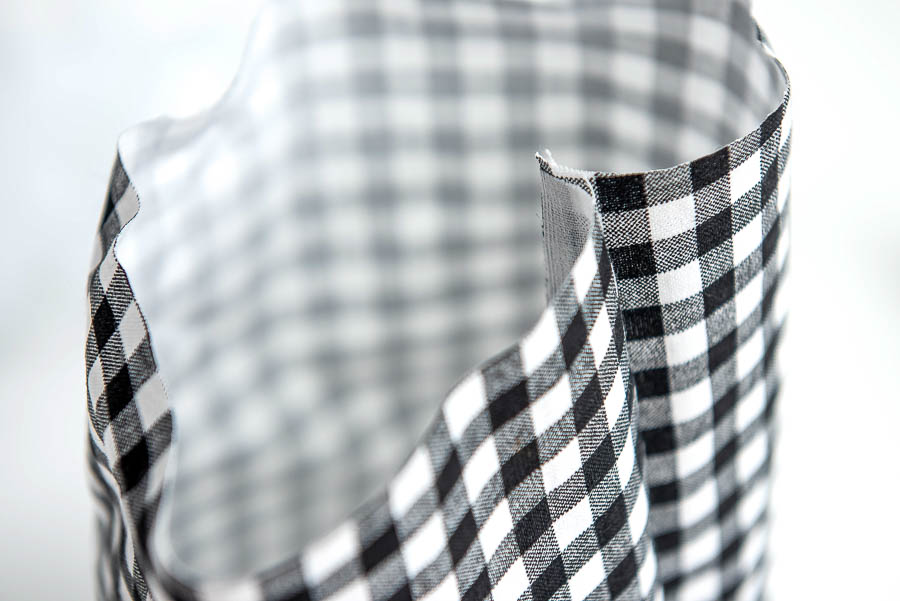
Step 1: Turn the fabric inside out and cut it to your desired size. 7.5” x 8” is best for a medium-sized pumpkin, but use any size you’d like.
NOTE: For your sizing, the length unfolded should be about double the height (ex., 8” unfolded is 16” by 7.5”).
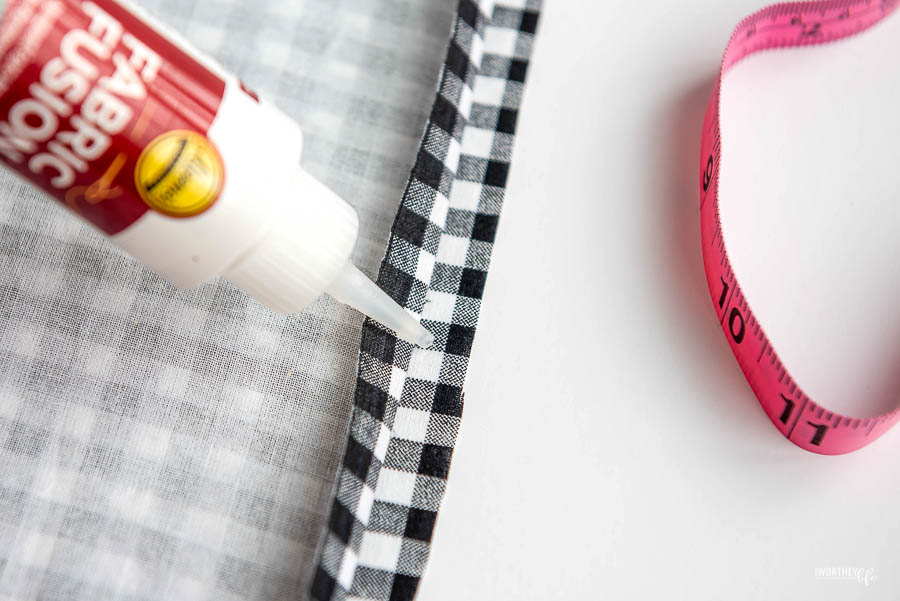
Step 2: Leaving the fabric inside out, use fabric fusion ( or hot glue) about 1/4 inch in for the raw edge to create a faux hem.
Set aside to dry completely according to the bottle.
This will create a small sleeve of fabric, leaving the raw edge inside.
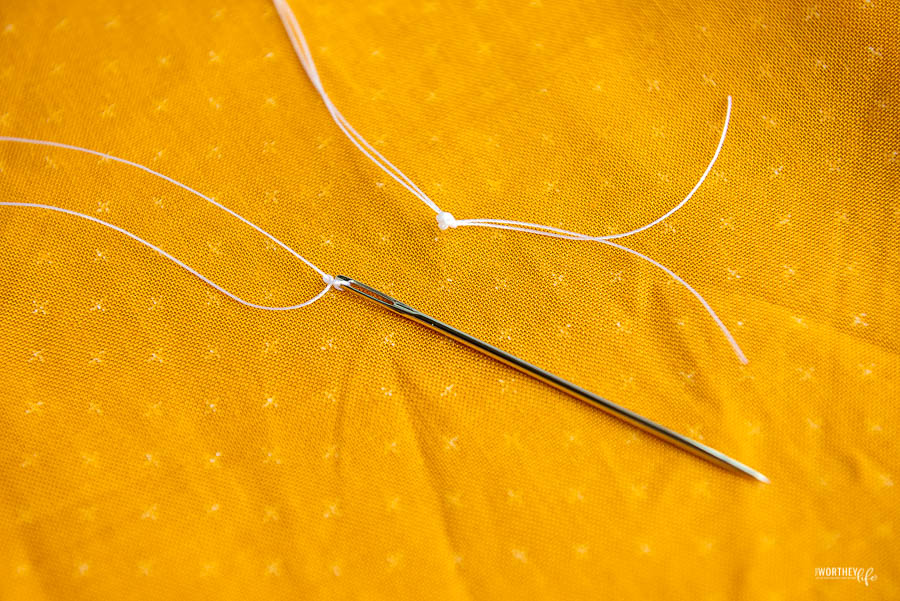
Step 3: Once dry, double thread a hand-sewing needle about an arm’s length of thread.
Knot the ends of the thread to be the size of the needle or bigger to avoid seems from popping later on.
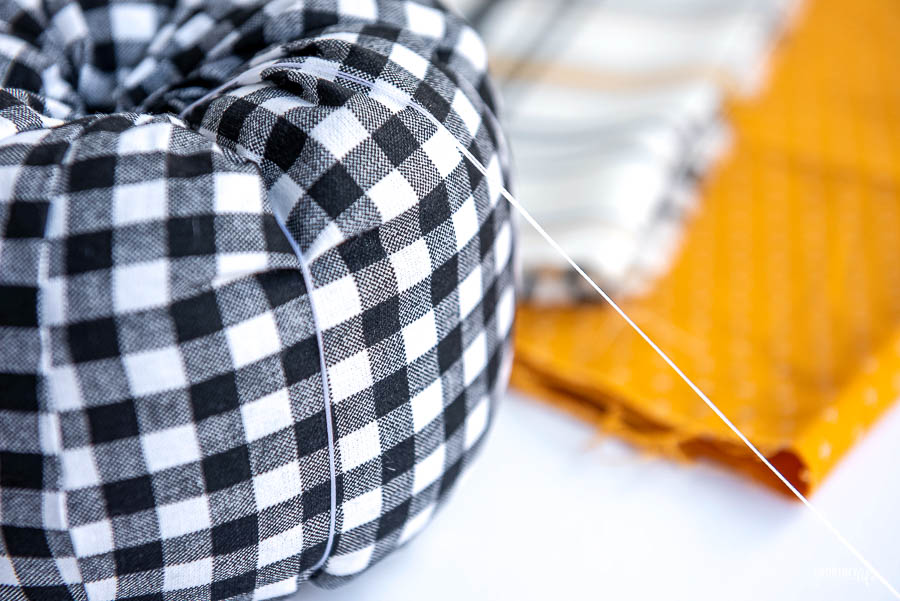
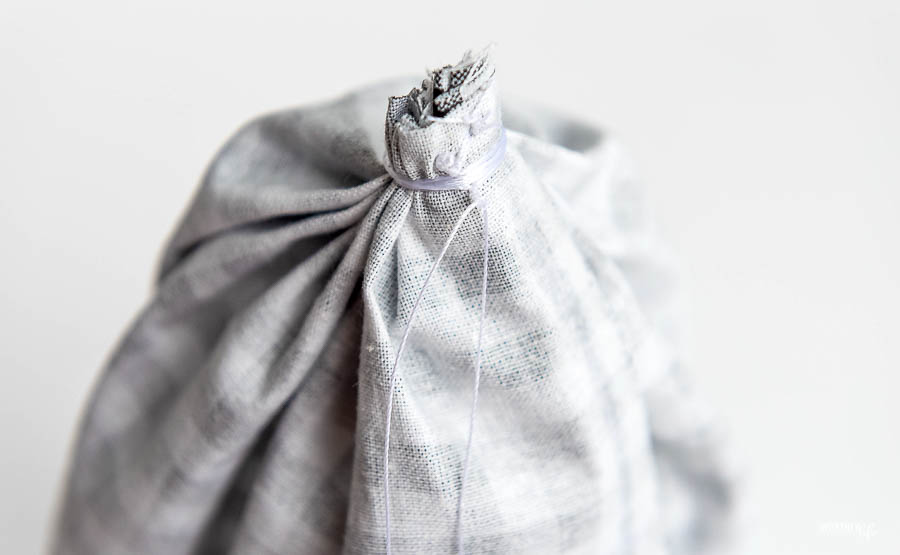
Step 4: Starting at the left of the faux hem being to weave the needle and thread completely around the diameter of the fabric approximately 1/4 inch from the raw edge. Once at the other side of the faux hem, pull the thread tightly and tie to secure.
Step 5: Now, take the thread leaving a small tail, gather the ruched fabric, and tightly wrap the thread around the fabric, creating a small stem. Tie off the thread.
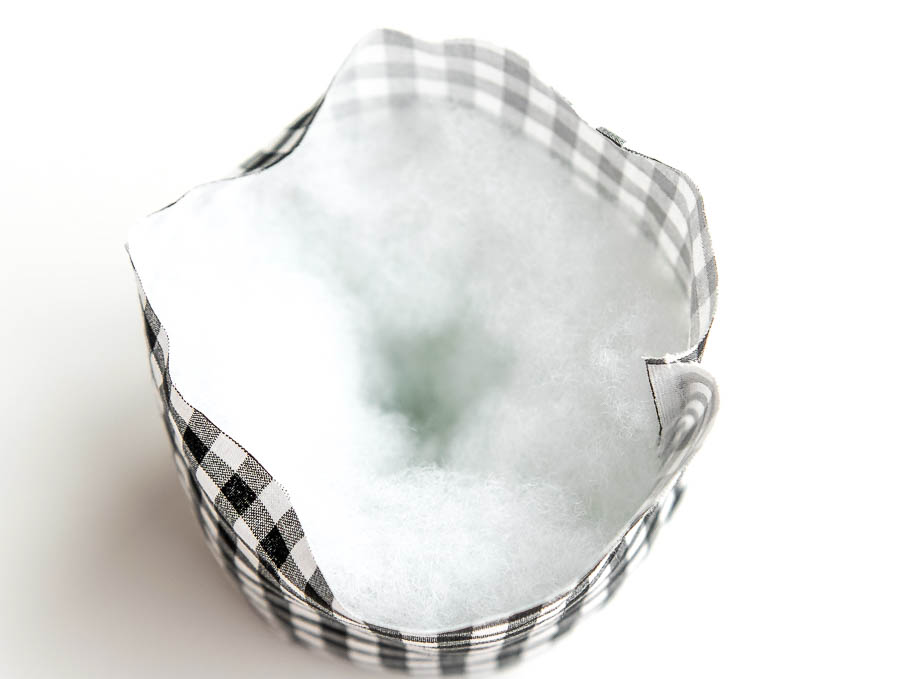
Step 6: Using polyfill, stuff the pumpkin packing the sides and leaving the middle as open as possible.
This will help with the pleats later on.
Step 7: Repeat step 4 to ruche and enclose the top of the pumpkin. However, do not tie off until you add more polyfill and the pumpkin feels plump and full.
Once filled enough, pull tightly and tie off to knot and trim threads.

Step 8: Double-thread the needle once more. Create the pleats by threading the needle through the bottom of the pumpkin and up through the top.
Pull the thread over the side of the pumpkin, pulling it tight and down to the bottom to repeat for another 4 pleats. Alternate the sides of each pleat.
NOTE: Keep the thread tightly pulled while threading it from bottom to top.
Not pulling the thread tightly will result in a loose thread without the pleating effect.
Step 9: Wrap twine around the cork stem and hot glue until completely covered.
Add a heap of hot glue to the bottom and place it at the top of the pumpkin.
Step 10: Add a twine or fabric ribbon to give it something extra!
See how simple it is to make your Fall decor?
The best part about making your pumpkins at home is that you can sit them out and display them anywhere.
Try these other DIY ideas:
These fabric pumpkins are too cute to pass up if you’re ready for a simple craft.
Decorate your home with these fun pumpkins so you can easily make your own festive for Fall.


Leave a Reply