This simple but beautiful DIY Wooden Serving Tray is a perfect way to use your Cricut to add a special message to your new cocoa serving tray.
I love simple DIY ideas, and this one is a great choice for the holiday season.
It is beautiful but simple, and it is easy enough that anyone can make this!

DIY Wooden Serving Tray for Hot Cocoa
We love hot cocoa, and while it doesn’t need a special serving platter to be delicious, it always helps.
This pumpkin spice and roasted marshmallow hot cocoa is even more delicious when it is served on a beautiful wooden tray with a warm and welcoming message!
To get started on this project, you will need to gather a few supplies.
This is an easy project, but it has a few steps that you have to follow carefully.
Make sure you are paying attention to the steps and read them over before you get started so you are well aware of what you need to do for this project to turn out as beautiful as the images.

Things to Note Before Making a Wooden Serving Tray
As this will be used for serving food, when you shop for stains, paint, or sealant, make sure that you are choosing safe products for this purpose.
Look to see if food-grade options are available.
Also, if you don’t want to use it as a tray but just as a sign, you can leave off the handles on the sides.
That cuts back on time spent on this project as well as money.
Note: Allow yourself 1-2 days to complete this project to make sure the stain or paint is fully dried before you apply the vinyl to the board.
More Fun DIY Cricut Projects
- Scrabble Letter Tiles
- DIY Bloom Where You Are Planted Mason Jar
- Coffee Mug with Vinyl Statement Using Cricut

Supplies Needed
- A round piece of wood
- Wood stain or paint
- Mod Podge
- Sponge brushes
- Cabinet handles
- Vinyl for Cricut in the preferred color
- Contact transfer paper
- SVG File (download here)
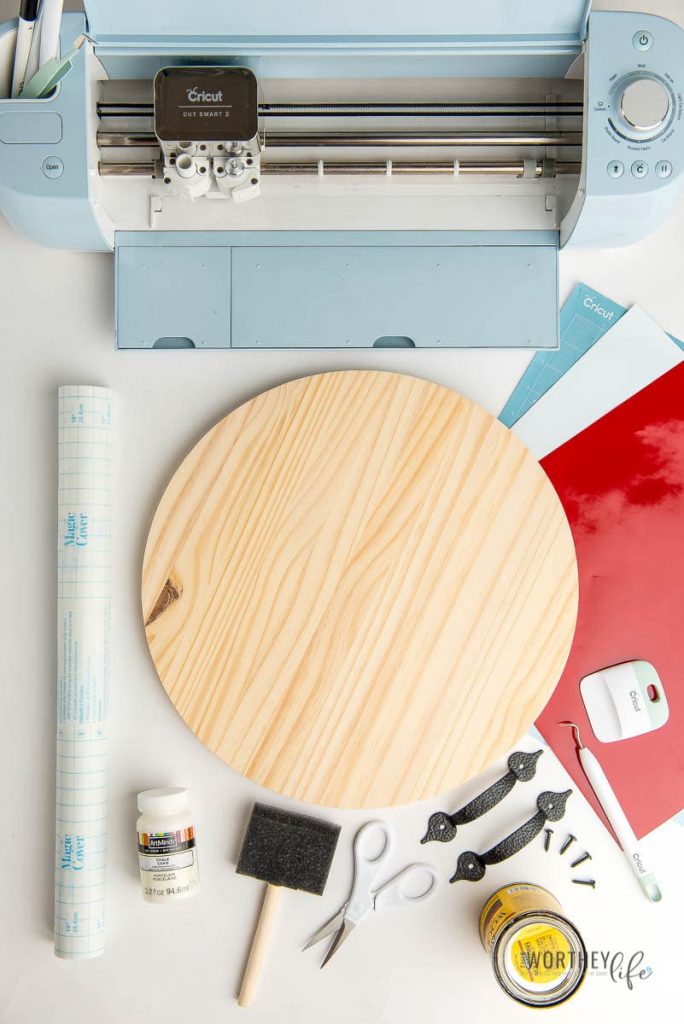
Tools Needed
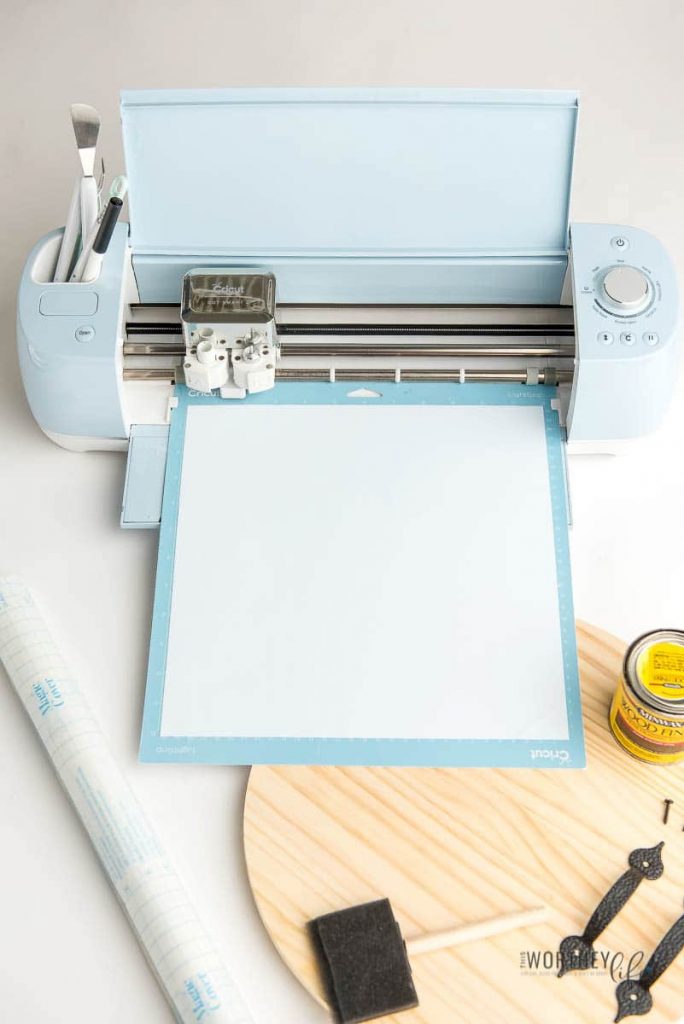
- Cricut
- Drill with 7/64th drill bit
- Phillips head screwdriver
- Blue light grip mat
- Weeding tool
- Scraper tool or old gift card for scraping
How to Make a Wooden Serving Tray with Cricut Design
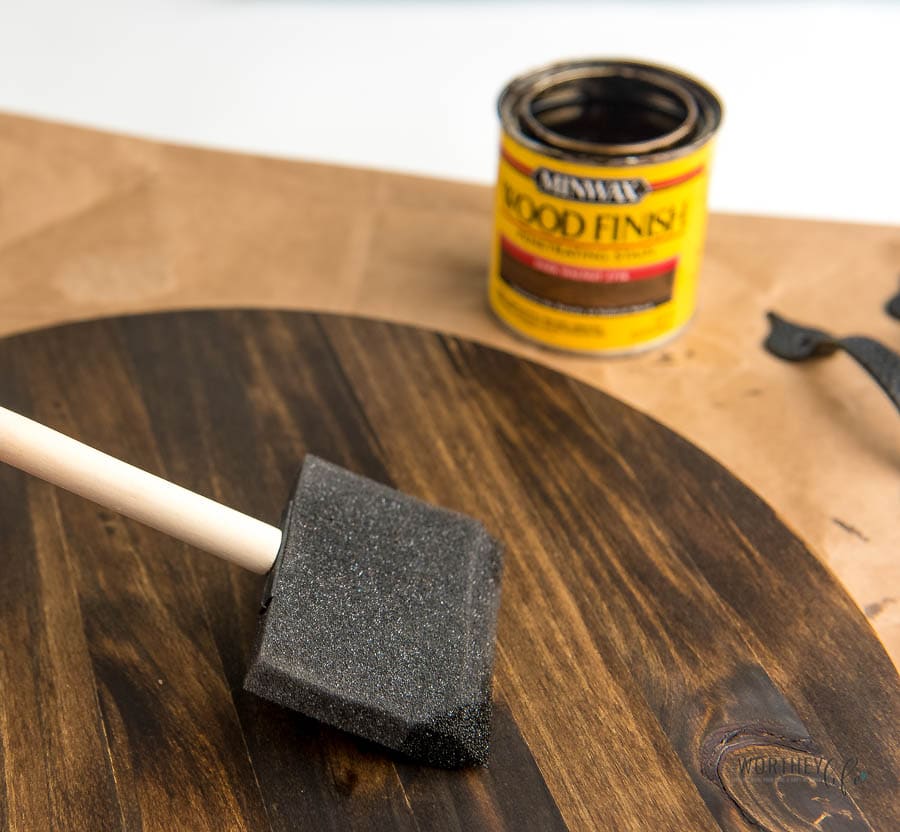
For this project, you will begin by staining or painting the wood. I
f painting the wood, you will do so, covering all sides as desired, then set aside to allow it to dry for 12-24 hours.
If staining the wood, you will stain along the grain of the wood and then use an old cloth or paper towel to wipe away 90% of the stain.
This, too, will be set aside for at least 12-24 hours to completely dry.
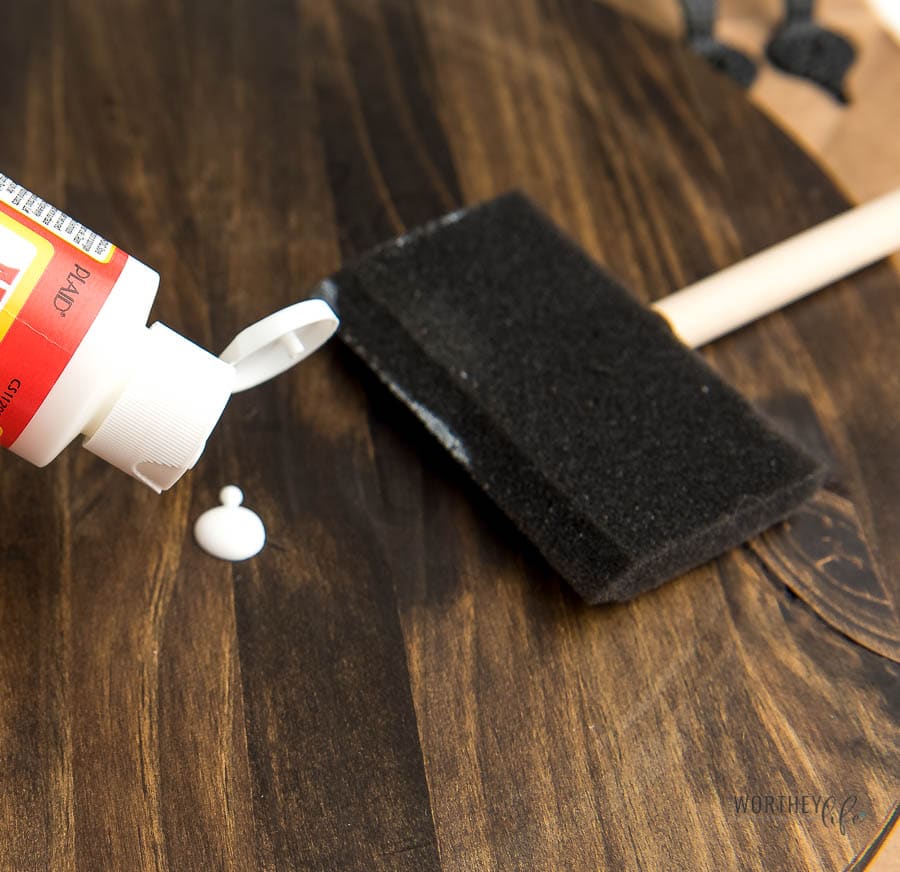
Once the stain or paint has dried, you will seal the piece of wood with Mod Podge or your preferred sealant as directed in the printable below.
Allow this to dry completely before moving forward to apply the vinyl.
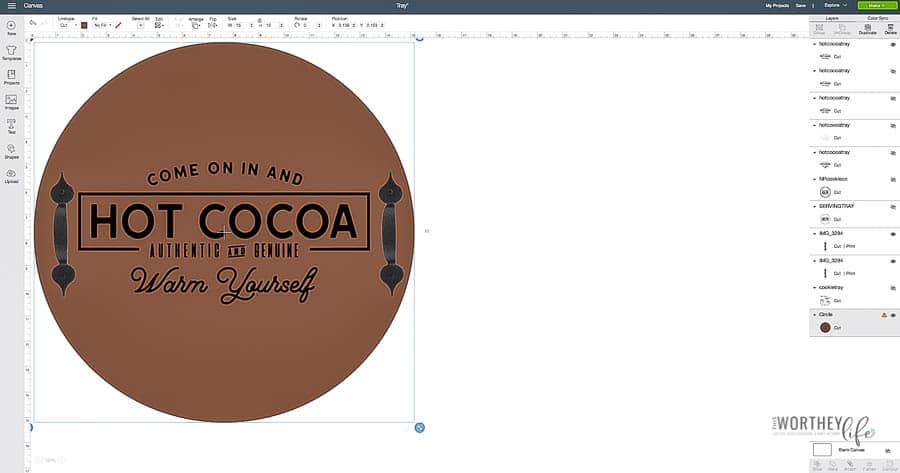
While the wood stain and sealant are drying, begin working on your SVG file using measurements that fit your wooden slice.
I have included my measurements in the printable directions for reference.
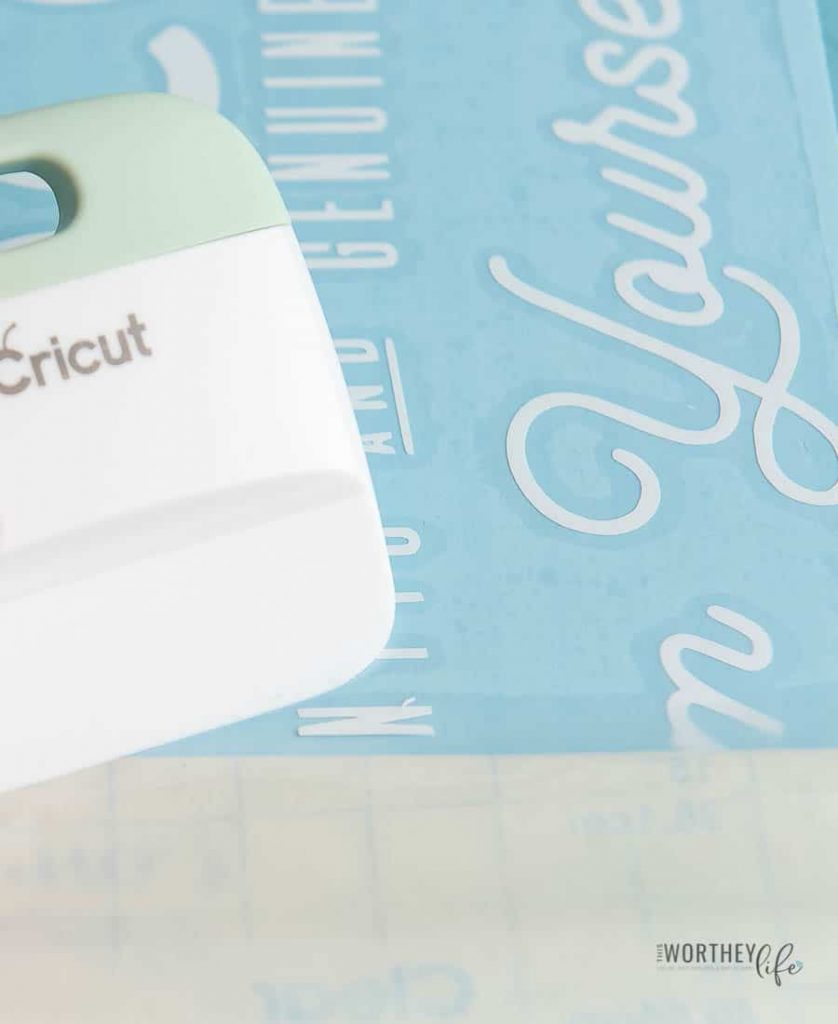
Edit and print your vinyl file according to your machine’s directions.

Once the vinyl has been printed, you will then remove excess pieces using a scraping tool.
Now, you will use a piece of contact or transfer paper and apply it to the vinyl to make the transfer to the wood later easier to manage.
Lay your vinyl onto the wood piece and adjust it to fit, then press down and gently remove the transfer paper until all that remains is the vinyl on the wood.
You can add an extra layer of sealant if desired.

How to add the handles to the serving wooden tray
- Once the vinyl is down and adhered, find the middle for your handles on each side.
- Take a 7/64ths drill bit and drill a small hole for ease of screws. Screw down the handles (your choice of design), and it’s complete!
If you don’t want to use this as a serving tray, then skip the handles. You can also hang it on the wall by adding a sawtooth hook.
And that’s it! Now you’re ready to use your wooden tray!


Leave a Reply