Use this free printable for an Elf on the Shelf Pizza Scene to add a little fun to your nightly Elf on the Shelf routine.
Not only can you print out all the components of this pizza scene below, but we’re also sharing step-by-step instructions on how to put this Elf on the Shelf pizza scene together.
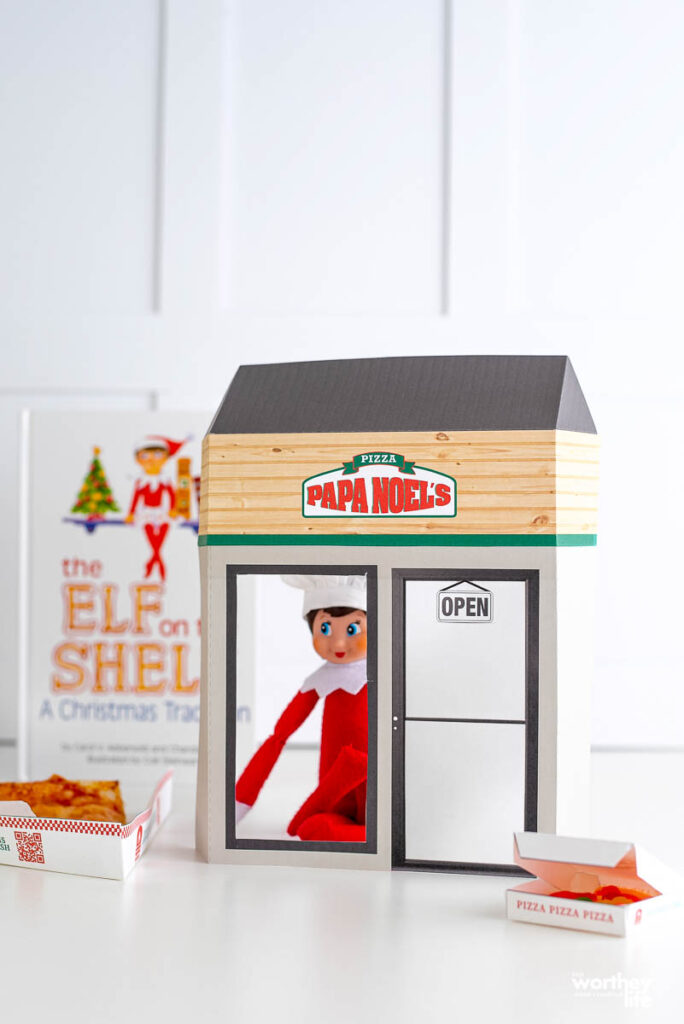
Elf on the Shelf Printable Idea For A Pizza Scene Craft
Here at the Worthey household, we’re more than a little obsessed with Elf on the Shelf. I can hardly wait to break out my favorite pointy-eared men in red this year, especially since we could all use a bit extra good cheer!
There are so many ways to use this lovely backdrop, and you can bring it back year after year! If you’re looking for some fresh inspiration to kick the holiday season off right, get crafty with this Elf on the Shelf Papa Noel’s Pizza Scene.
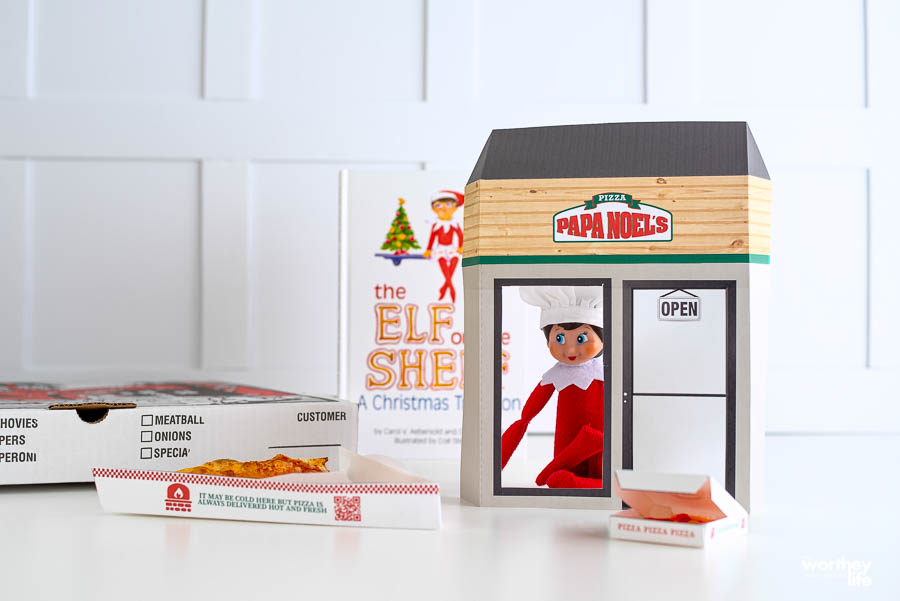
Elf on the Shelf fun idea!
The Elf on the Shelf craze is still going strong, and I couldn’t be happier about it. I love coming up with fun and creative ideas for where to stage our Elves each year, and it honestly never gets old.
This Papa Noel pizzeria is the perfect place for your Elf to whip up some holiday “pies” and monitor all of your “guests” (a.k.a. the kids) for good behavior.
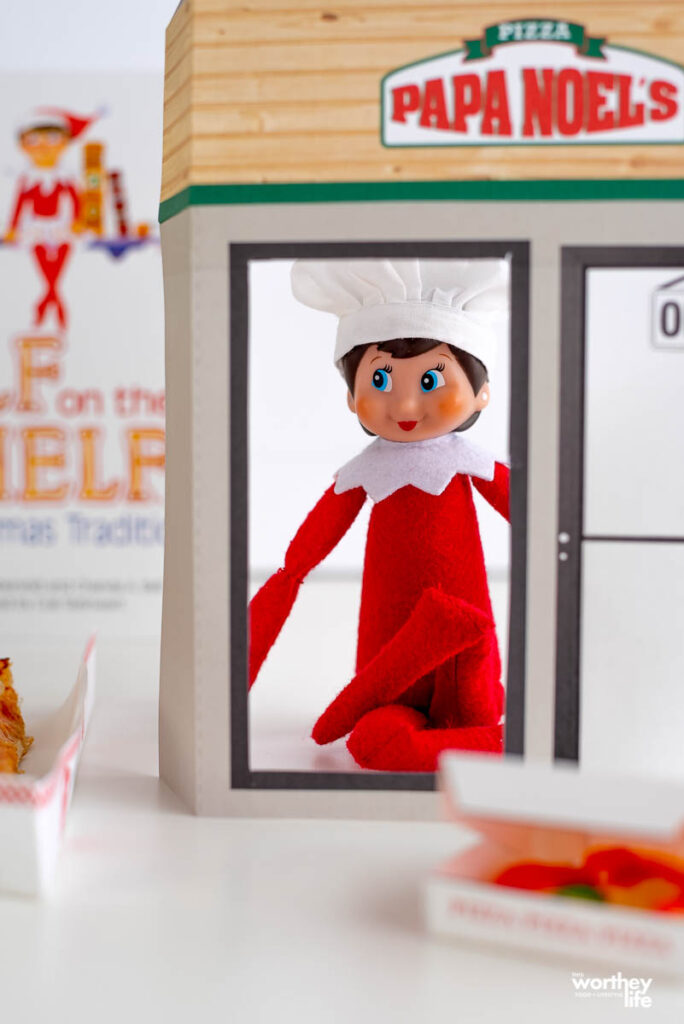
If you still need to buy an Elf on the Shelf, head to Amazon to check out their selection.
I want to begin this post by telling you that you don’t have to go this hard with your Elf game every night. I can guarantee that you’ll forget to move your Elf on more than one occasion, and that’s just part of being a busy adult.
Sometimes you’ll remember at the last minute, and other times, well, you’ll have to think of an excuse to tell your kids.
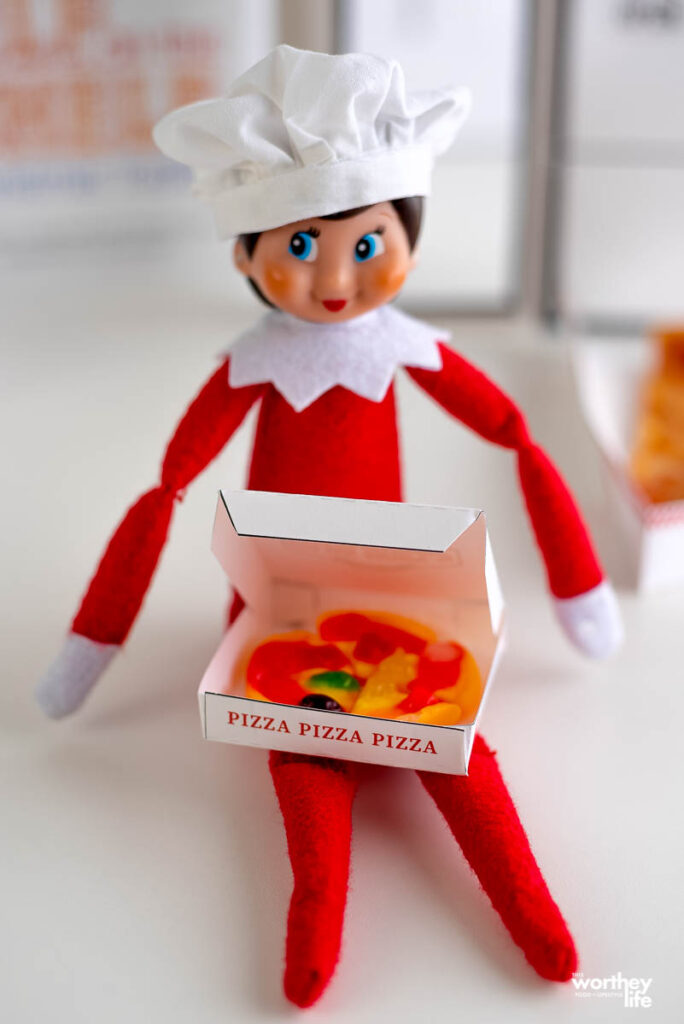
My point is, this Papa Noel’s Pizza Scene Craft for your Elf can easily be the piece de resistance of your entire month leading up to Christmas, and you can opt for more low-prep options for most of the other days.
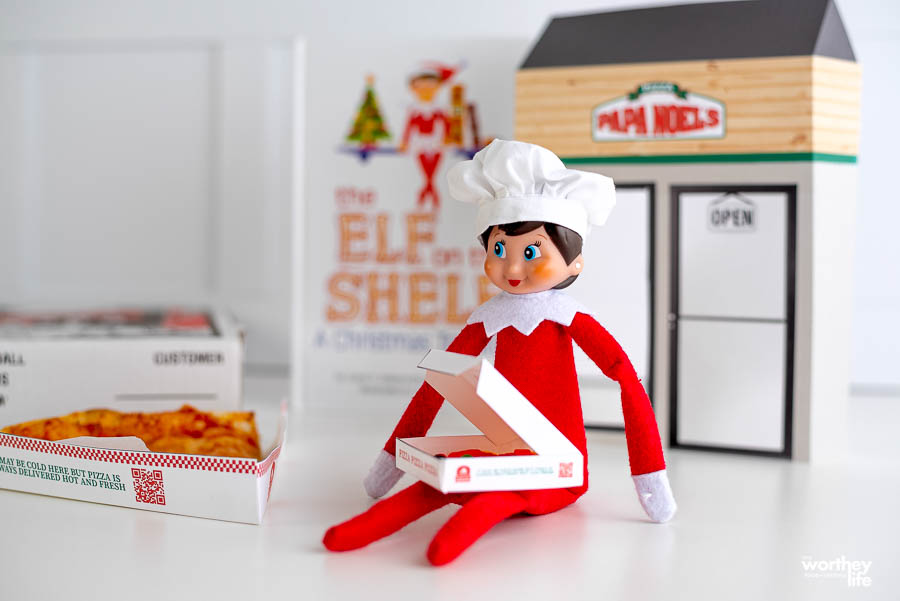
There are several different ways you can pose your Elf on the Shelf with this holiday background, and feel free to add to my suggestions in the comments below!
- Sit your Elf in front of the storefront with the pizza box in his lap (shown above)
- Have your Elf reclining on the roof of the Papa Noel store (Don’t mind me! Just taking a nap!)
- Pose your Elf with their hand over their mouth and an empty pizza box next to them (I can’t imagine who ate all that pizza!)
Alright, now that you’ve got your creative juices flowing, let’s get on with this fun Elf on the Shelf craft!
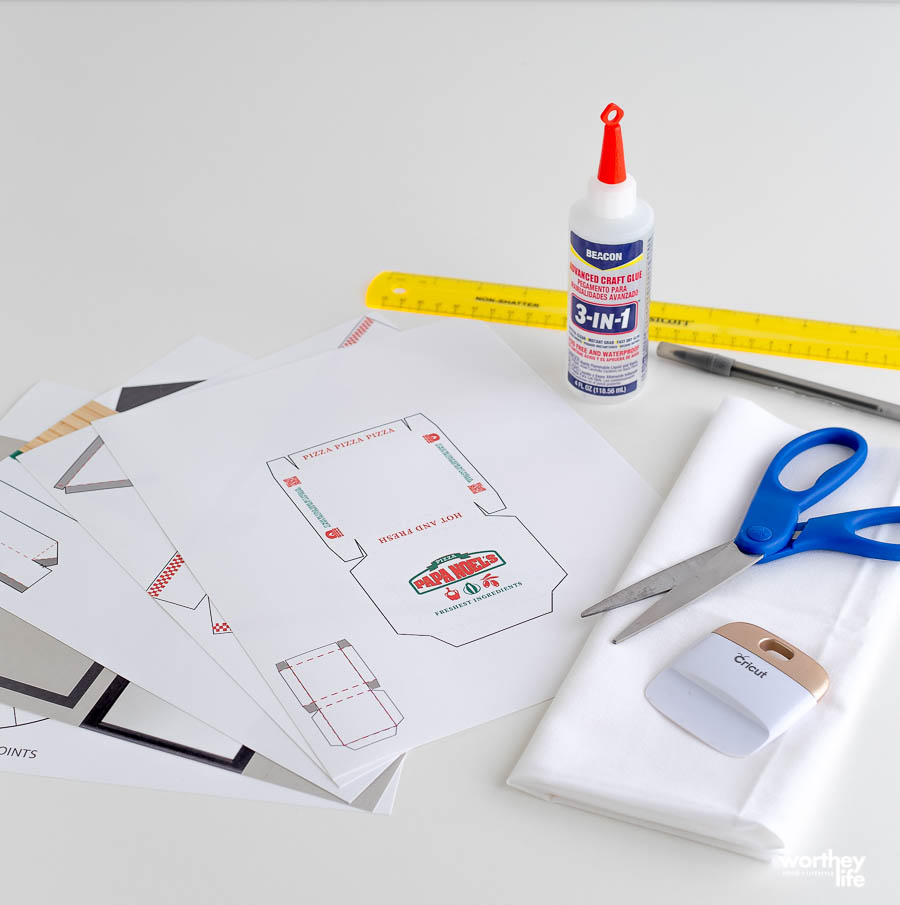
Supplies needed for this Elf on the Shelf Craft:
- 8.5 x 11″ – 65 lb white card stock (5 sheets)
- Printer (printer not pictured)
- Hot glue gun (not pictured – learned later on)
- White cotton fabric (fabric quarter is plenty)
- Pen
- Scissors
- Ruler
- Straight edge to help with folding
- Paper glue or hot glue gun (I’m using beacon quick dry glue – please use hot glue if food will be directly touching box)
Directions for this Elf on the Shelf Printable DIY
Be sure to watch the video (above) for details on how to put together this Elf on the Shelf printable.
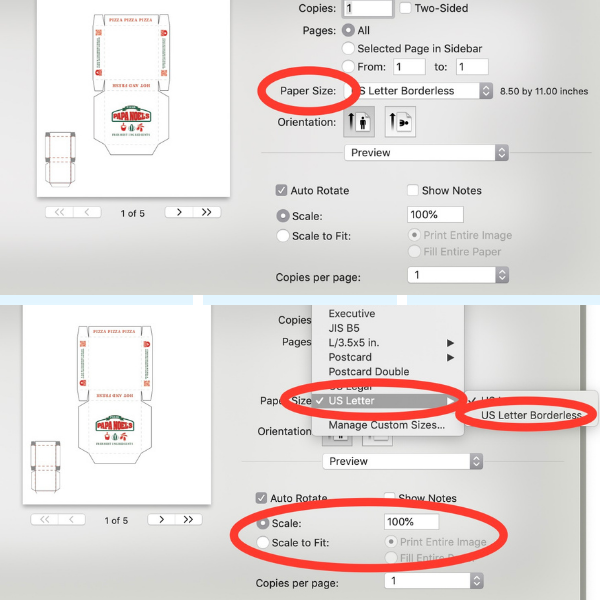
Step 1:
Print out the free Elf on the Shelf pizza scene here. Adjust the printer setting under “printer properties” or properties box when prompted to print.
Under paper size, find US letter and change to US letter borderless based on your printer settings.
Then, select the scale ratio and input 100% if not already entered. *This is important to ensure PDF prints edge to edge and stays the correct sizing needed.
Tip: Depending on your printer, I recommend only putting a few sheets of card stock in at a time. Since card stock is thicker than standard printer paper, it can jam more easily.
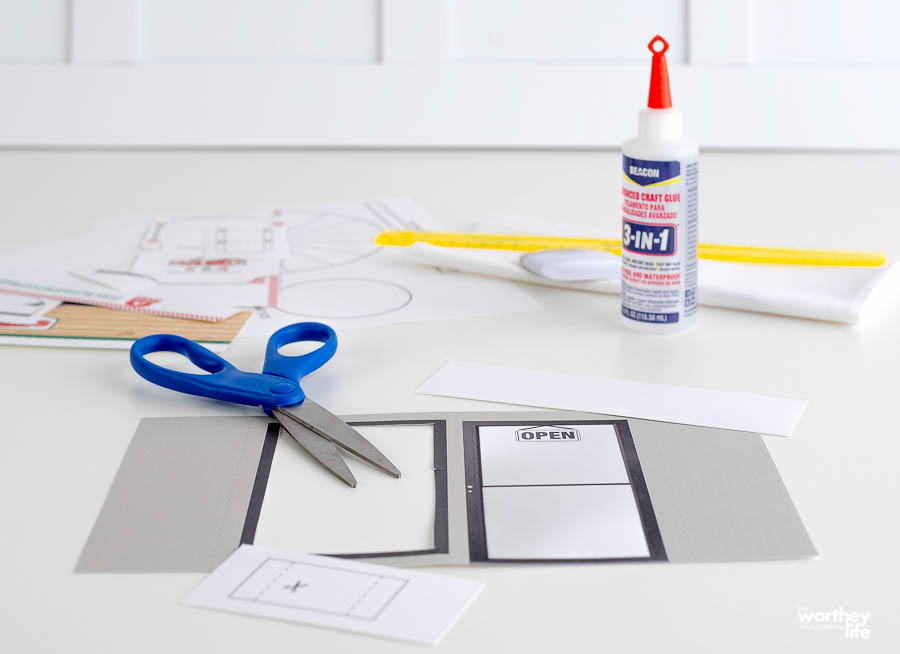
Step 2:
Cut out all printables and chef hat pattern. Be sure to keep the folding and gluing guides, then set them to the side with the files.
*If needing additional help, see video and folding guides.
*Note: Be sure to cut slits (indicated on the fold/glue guide on the pizza shop roof page) between the “wood” and the gray portion of the roof right under the triangle fold to help later in gluing steps.
Step 3:
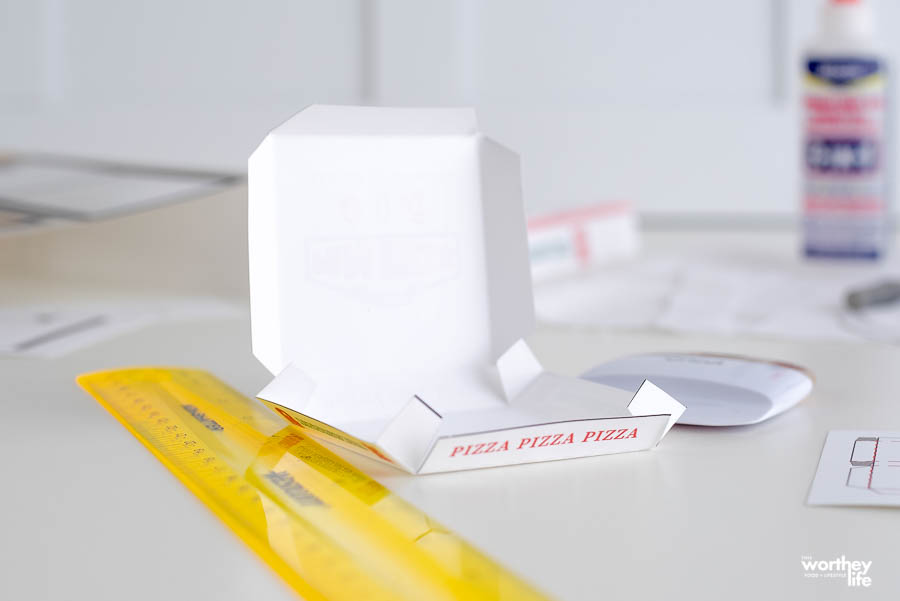
Use the folding guide to follow where lines need “scored” and folded.
To get a consistent fold, use a ruler to help with the folding and a second straight-edged tool to help lift the paper from the surface.
It is easier to fold ink-side-up first until lines are made, then fold back to create mountain folds. Use points and corners to help lead lines.
* Red dotted lines on folding guide = scoring/fold lines
Step 4:
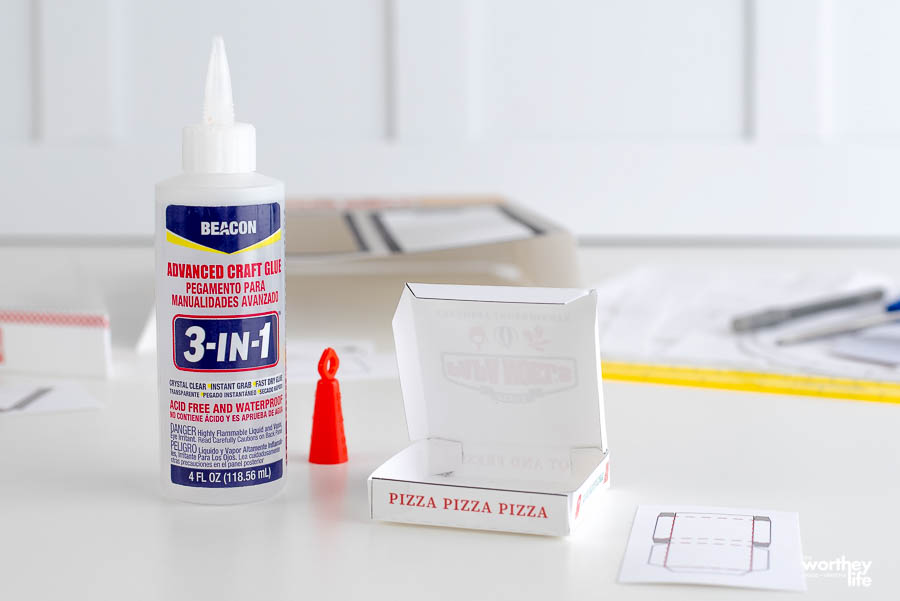
Next, begin to glue. Use the guide to follow what tabs need to be attached. Glue tabs are indicated as a filled-in gray color.
Attach the bottom part of the pizza shop (with the door and window) to the top part of the pizza shop (the part with the logo and gray roof).
The top part of the pizza shop will have a long tab to attach to the bottom.
To create the bevel in the roof of the pizza shop, attach the triangular fold tab to the sidewall.
Construct the mini pizza box by using the small glue tabs. Then, attach the flaps to the bottom of the box and enclose them like normal.
Add glue to the small extended tab to the opposite sidewall for the pizza slice tray to create and replicate a triangular box.
Step 5:
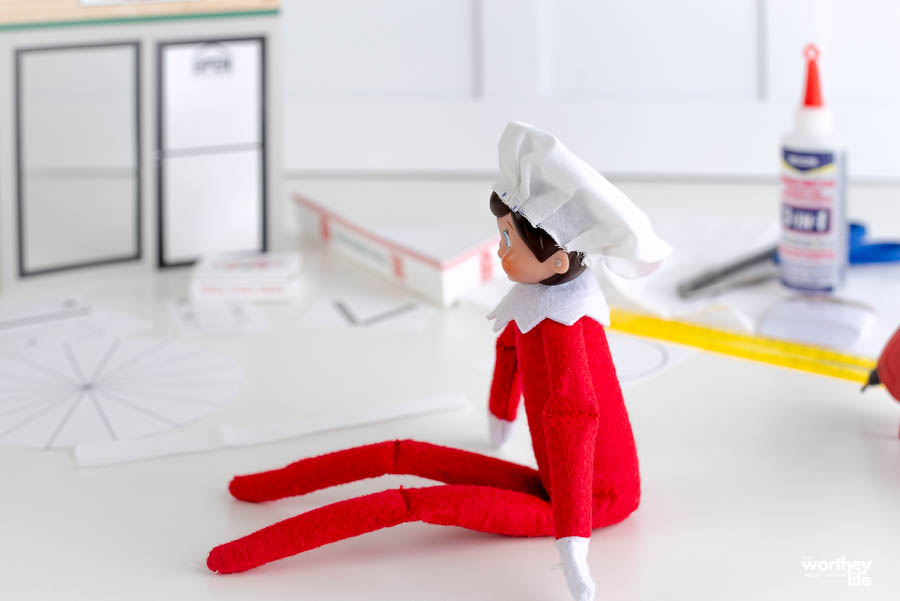
Next up is the chef’s hat. Don’t feel obligated to stick with white for the fabric color. Use holiday colors like forest green, jolly red, or sequined silver for an incredibly flashy look! After all, your Elf on the Shelf has a unique personality, all of its own!
Use the circle template to cut and trace the chef hat pattern onto the fabric. The pattern will contain “slice” points to guide where to create pleats.
Using the hatband pattern, make indications on the corner to double in height (will later be folded in half to equal the width of the hatband template) and trace them onto the fabric.
Step 6:
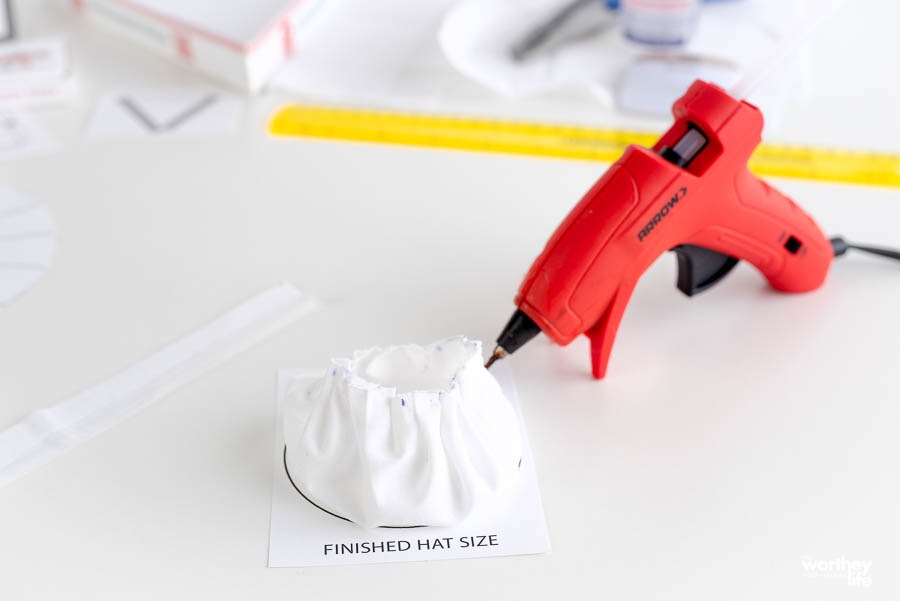
Using the points created in the previous step on the circle hat pattern, create pleats on or in-between points using a hot glue gun (the beacon paper glue will not work on the fabric, I’ve learned), securing them towards the outer edge of the circle.
*When enough pleats have been created, the hat’s circumference will fit inside the template labeled “finished hat size.”
* Use the Elf’s head to measure – the hat should fit just past the ears.
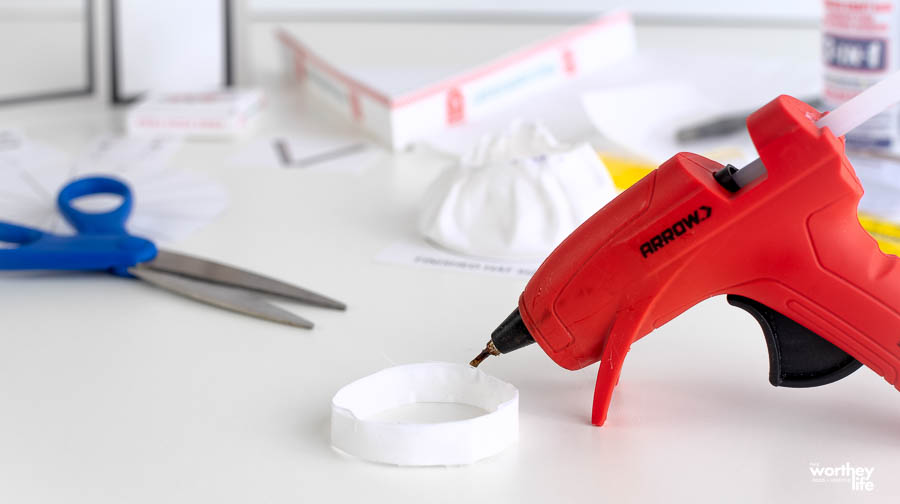
Step 7:
Fold the hat band in half (hot dog style) and hot glue along the edge to secure it.
Measure around the width of the Elf’s head. Use hot glue and trim the excess band.
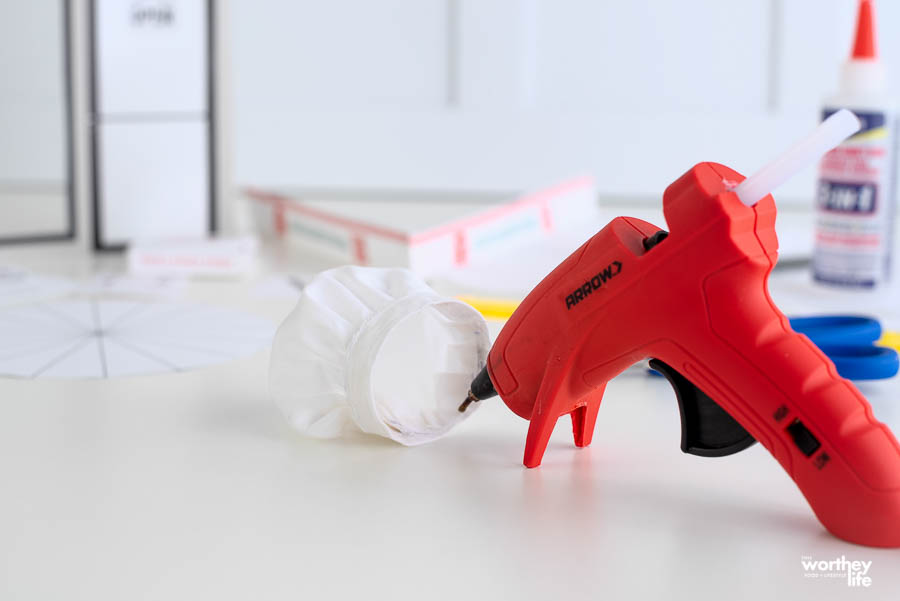
Step 8:
Pull the pleated part through the band of the hat, and on the inside of the band, attach using hot glue.
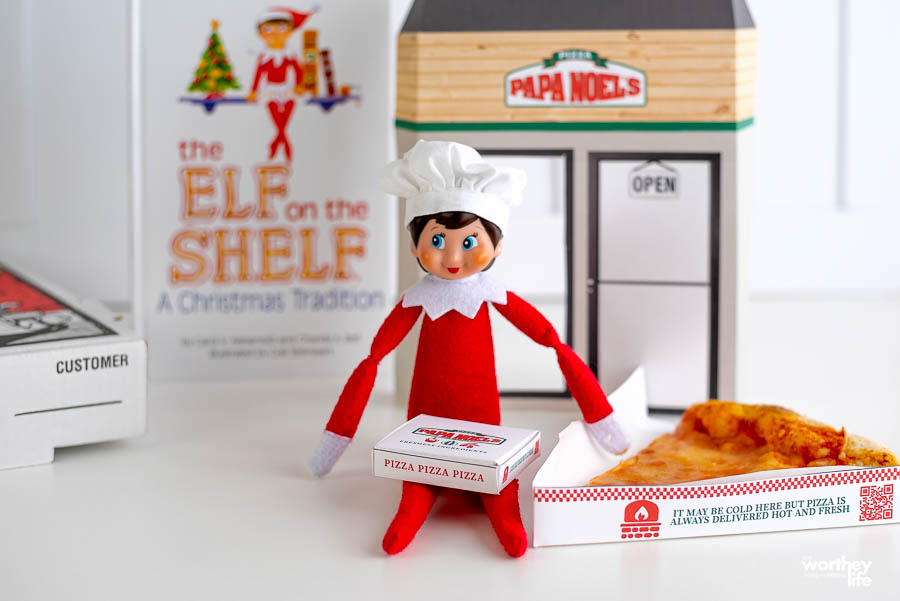
And there you have it! You’ve fashioned your Elf on the Shelf pizzeria to place in your kitchen, dining room, or wherever you think it will get the most attention! This is a fun craft to do with your kids or spouse.
Print your Elf on the Shelf Pizza Scene here
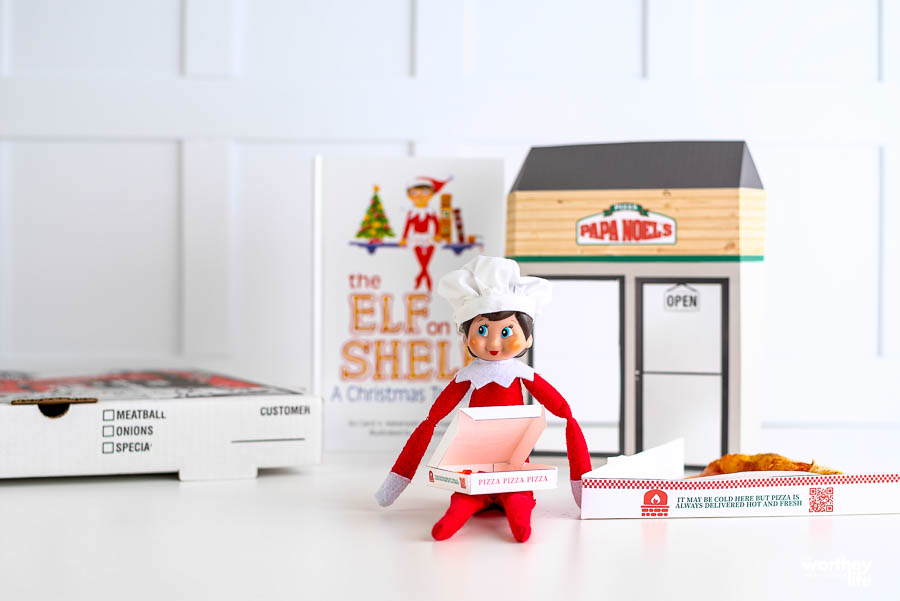
Print the free pizza scene idea here!
Simple DIY holiday crafts like this one are the perfect way to give your Elf some new digs and make the month leading up to Christmas amusing and memorable for everyone in your family.
*Thank you, Morgan, for this craft idea!


Kristie Jones says
This is the perfect idea to use ..after many years of EOTS ideas are hard to come by. This fits the costume theme I found found at Target!