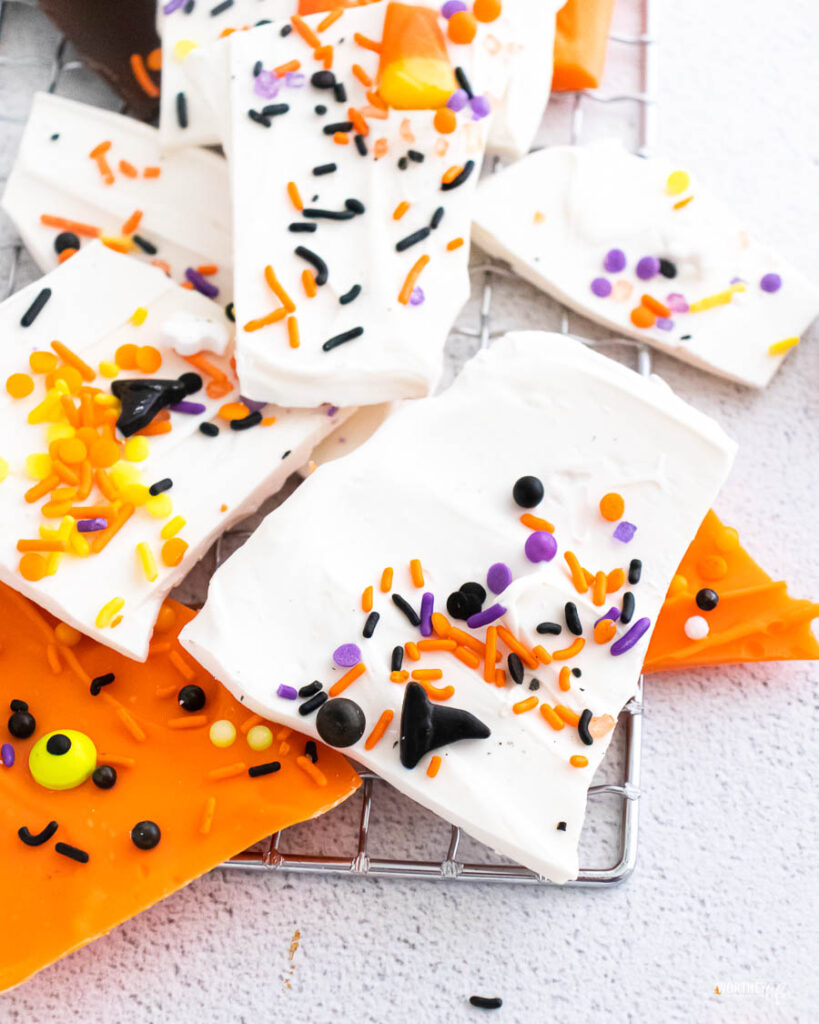
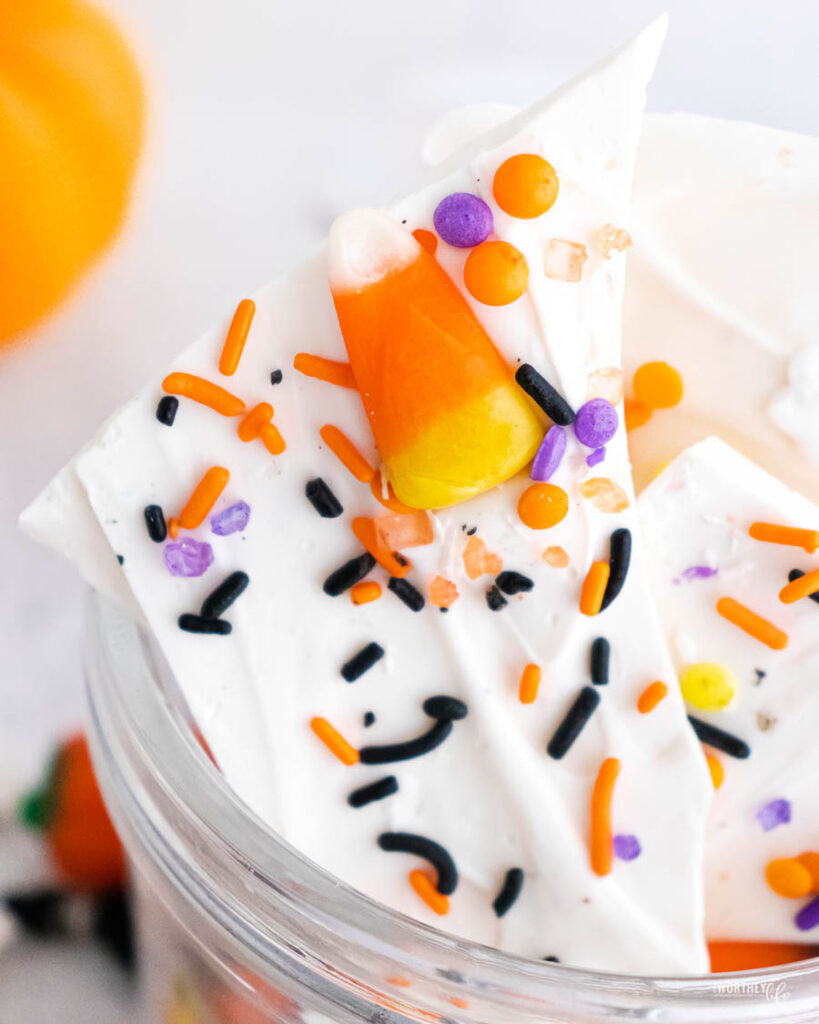
Halloween Chocolate Bark is a brightly colored chocolate bark that is loaded with bold Halloween vibes.
Break your chocolate bark into pieces and serve up one melt-in-your-mouth delicious Halloween dessert.
Halloween Chocolate Bark
I love making this bark right around Halloween.
But I also love using some Halloween candy after Halloween to pile on the mini candy bars and such.
This is such a simple but satisfyingly sweet dessert.
Kids and adults will be drawn to this bright chocolate bark.
Semi-sweet chocolate, white chocolate, fun candy melts, and more are all options for creating your bark.
Searching for More Halloween Recipes
What You Will Need
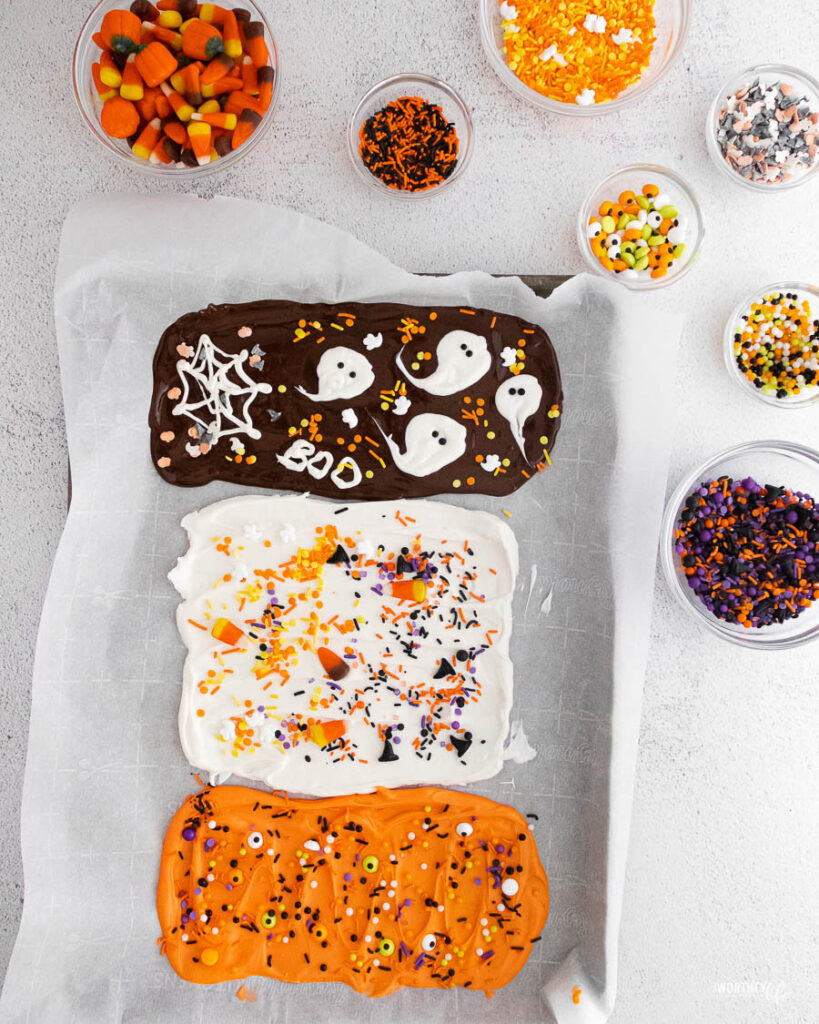
Chocolate. Here is where you can get creative. I loved using a mix of candy melts that were white and orange. Then I also used dark chocolate chips to add tons of color and variety to this recipe. But feel free to use one type of chocolate if you would like.
Sprinkles And Decorations. Go ahead and reach for candy corn, google candy eyes, Reese’s pieces, and all other types of candies that you want. And most importantly, don’t forget the fun Halloween sprinkles.
How To Make Halloween Bark
Start by melting up your chocolate chips or melting wafers.
I went ahead and microwaved them in 30-second increments or until the chocolate melted.
Then on a baking sheet that is covered in wax paper or a Silpat mat.
That way, it prevents the chocolate from sticking.
Spread your chocolate out thin, and then decorate with eyes, sprinkles, or decorate with chocolate.
If you want to decorate with chocolate, pour some chocolate into a piping bag, and draw on the hardened chocolate with different colored chocolate!
Ghosts, spiders, write words like Boo, and more.
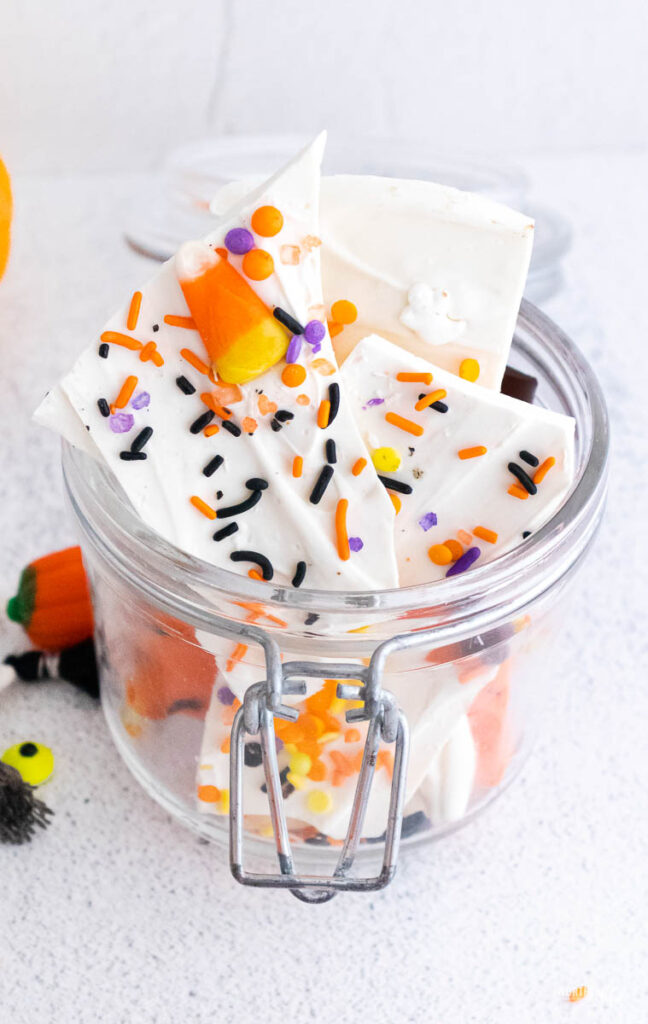
Storing
Store your Halloween bark on the counter in an airtight container.
Then store it on the counter for around a week.
It is best when eaten within the first few days of making it.
You are welcome to freeze any bark you don’t plan to eat right away.
Place it in a freezer bag for a few months. Thaw on the counter for a quick thaw.
Expert Tips and Variations
- Use all different colors of chocolate to add so much color and dimension to your candy bark.
- You can make your candy bark as thin or thick as you prefer. It is all up to you on how thin you spread it.
- Find all types of candies to sprinkle on top of the wet chocolate.
- Double the recipe if you plan to serve a handful.
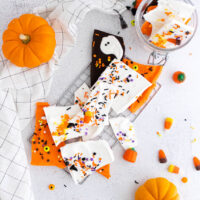
- You can use a spoon to break your chocolate, your hands, or whatever to break the candy bark into pieces.
If you want more Bark Recipes, Here Are More To Try

Ingredients
per 1 ounce of bark, 18 servings per batch
- 3/4 cup of dark chocolate chips
- 3/4 cup of white chocolate melting wafers
- 3/4 cup of orange chocolate melting wafers
- sprinkles to decorate
- candy eyes, to decorate
- candy corn, to decorate
- Reese’s Pieces, to decorate
Directions:
- Line a sheet pan with parchment paper.
- Add the dark chocolate chips to a small microwave-safe bowl—microwave on high for 30 seconds. Stir.
- Microwave again for an additional 30 seconds. Stir again. By this point, your chocolate should be smooth and shiny. If there are still large lumps, microwave for an additional 15 seconds and stir again.
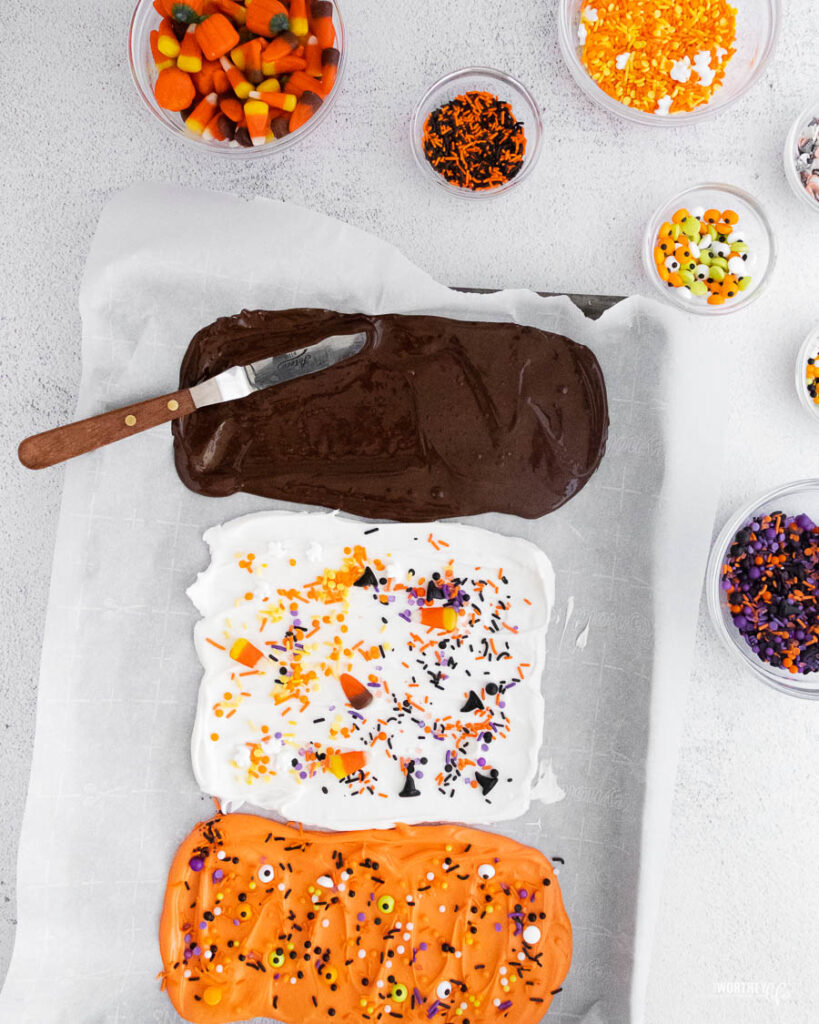
- Dump the chocolate onto the parchment paper and spread it out until it is 1/4” thick. This is easiest to do with an offset spatula.
- Add any sprinkles, candy, or decorations while the chocolate is still wet— work quickly, as it will start to harden immediately.
- Repeat with the remaining two chocolates.
- Transfer the chocolate bark to the freezer and allow it to set for at least 30 minutes.
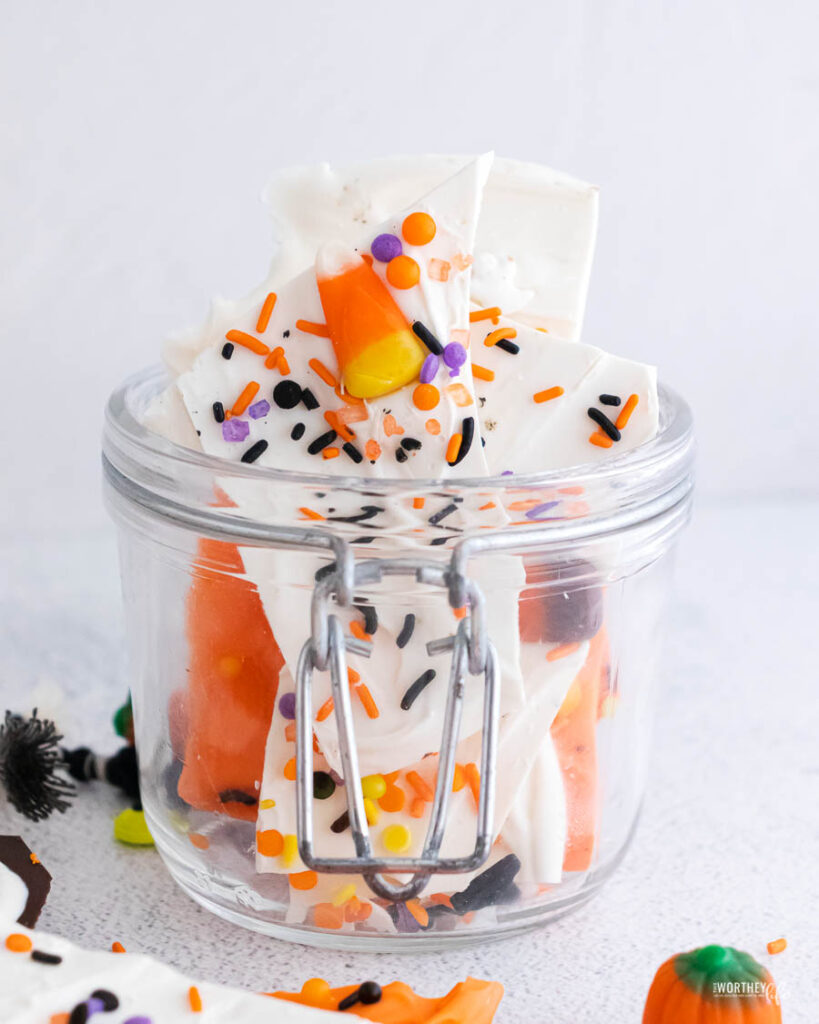
- While the chocolate bark is frozen, break it into large shreds with your hands (or a very large, sharp knife).
- Store in an airtight container in the refrigerator for up to 2 days.

Recipe Notes
Any chocolate chips will work in this recipe— semi-sweet, milk, bittersweet, etc.
Just use what you have on hand.
You can substitute white chocolate for the melting wafers, although it does not melt as easily or as smoothly.
Melting wafers are highly recommended.
Transfer 1/4 cup of melted white chocolate to a plastic bag to make shapes.
Cut the bag’s corner tip-off and pipe the ghost or spider web design with the chocolate.
The exact sprinkles you use are completely up to you. I like to use a mix I found at the craft store— pumpkins, ghosts, witch hats, etc.
If your candy wafers start to separate or clump, add 1 tablespoon of solid vegetable shortening.
Microwave for 30 seconds and then whisk it vigorously.
Halloween Chocolate Bark
Ingredients
- per 1 ounce of bark 18 servings per batch
- 3/4 cup of dark chocolate chips
- 3/4 cup of white chocolate melting wafers
- 3/4 cup of orange chocolate melting wafers
- Sprinkles to decorate
- Candy eyes to decorate
- Candy corn to decorate
- Reeses Pieces to decorate
Instructions
- Line a sheet pan with parchment paper.
- Add the dark chocolate chips to a small microwave-safe bowl.
- Microwave on high for 30 seconds. Stir.
- Microwave again for an additional 30 seconds. Stir again. By this point, your chocolate should be smooth and shiny. If there are still large lumps, microwave for an additional 15 seconds and stir again.
- Dump the chocolate onto the parchment paper and spread it out until it is 1/4” thick. This is easiest to do with an offset spatula.
- Add any sprinkles, candy, or decorations while the chocolate is still wet— work quickly as it will start to harden immediately.
- Repeat with the remaining two chocolates.
- Transfer the chocolate bark to the freezer and allow it to set for at least 30 minutes.
- While the chocolate bark is still frozen, break it into large shreds with your hands (or with a very large, sharp knife).
- Store in an airtight container in the refrigerator for up to 2 days.


Leave a Reply