Get ready to bring in the New Year with this Happy New Year Headband.
Using the Cricut (or another cutting machine), you can make your own New Year Headband with different sayings:
Happy New Year and Cheers. Get ready to party in style with this easy DIY idea for New Year’s Eve decor!
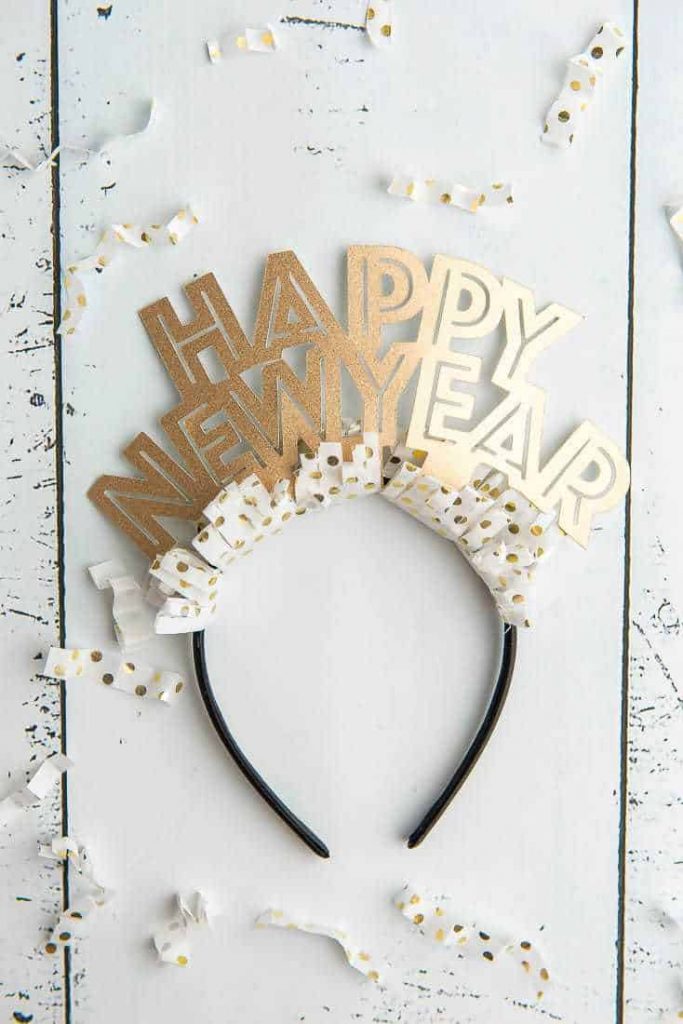
DIY Happy New Year Headband Made With A Cricut
I’m still wrapping my head around the fact that today is New Year’s Eve!
Our New Year’s Eve plans are typically low-key. We stay in, make a ton of appetizers, along with drinks (including kid-friendly ones) to toast in the new year.
As you get ready to celebrate the New Year with family and friends, don’t forget your party gear!
Today I’m sharing a quick tutorial on how to create your own New Year’s Eve headband! Not only is this an easy DIY idea, but you can also reuse it for years to come!
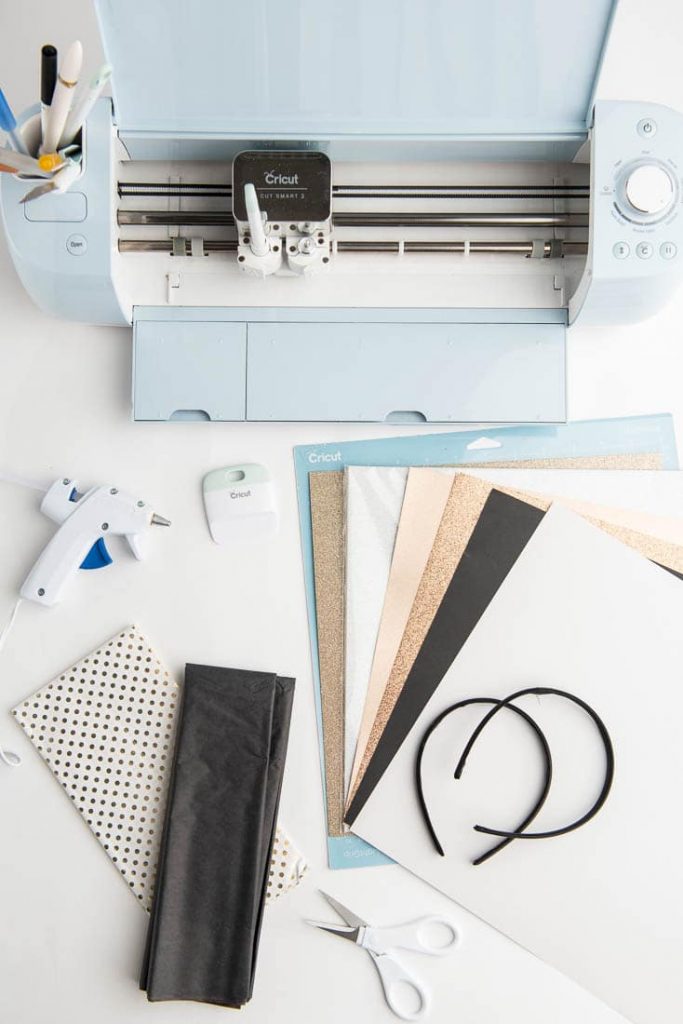
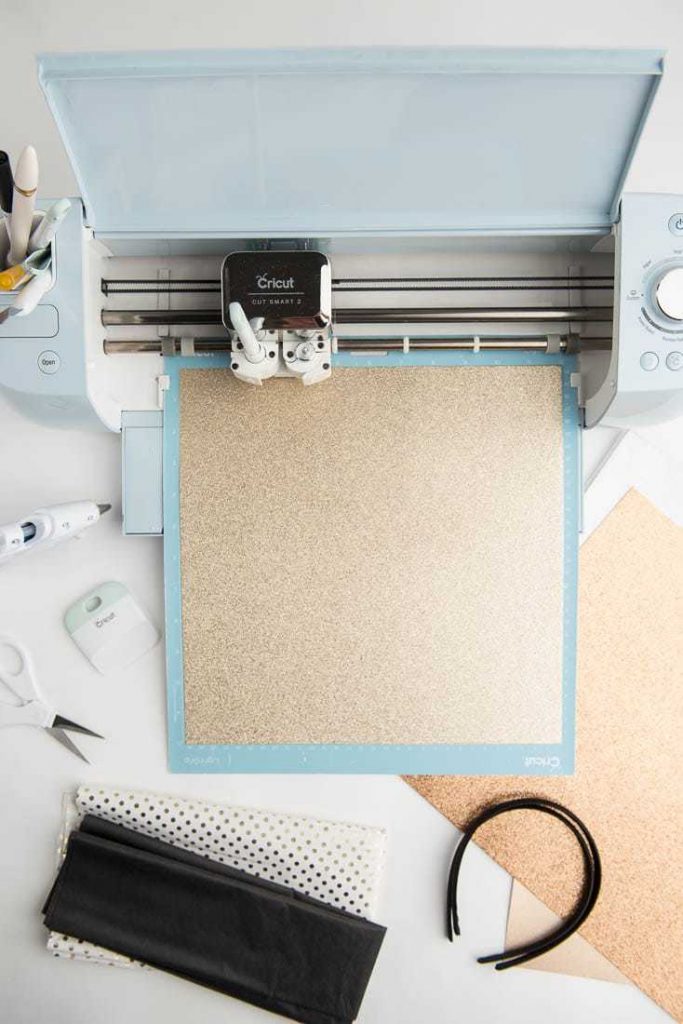
Before you get started on this DIY idea, here are the tools you’ll need:
- Cricut machine (if you don’t have a Cricut, you can use another cutting machine)
- A sheet of card stock (12×12 works best – Depending on the design, can get about two cuts per sheet)
- Blue light grip mat
- Hot glue gun
- Plain headbands (You can order them here, or find them at any craft store)
- Cricut Design Program
- Tissue paper (white, gold, or black)
- Scissors
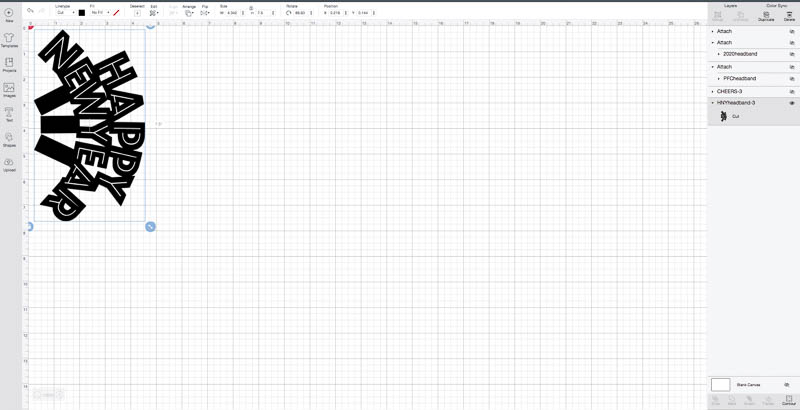
Measurements for the SVG Files + Creating Files in the Cricut Design Space:
In the Cricut Design Space, upload the SVG file. { You can find the downloads below}
Adjust your file size according to your headband measurements. I am using a thin black headband approximately 5” long, 3/4” width, and 5” across.
- Happy New Year sizing: Cutting vertically is 4.34” width and 7.5” height. {download file here}
- Cheers sizing: Cutting vertically is 4.804” width and 6.089” height. {download file here}
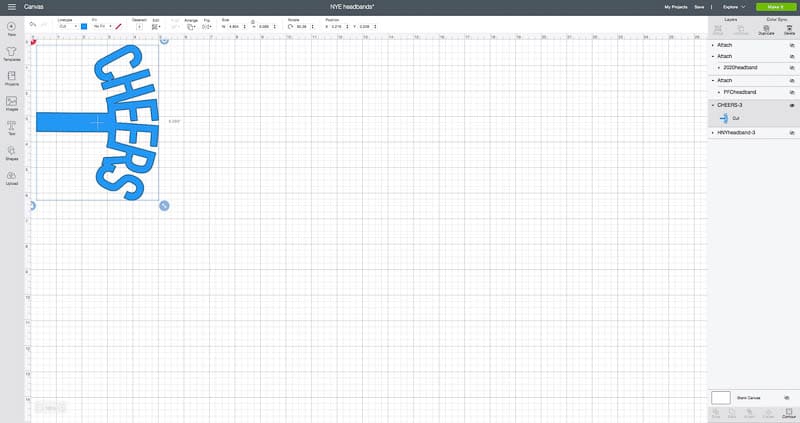
Pro-tip: If you’re cutting each file in the opposite direction, than listed above (horizontal or vertical) flip the width and height measurements.
When you go to print + cut your SVG file, don’t forget to select ALL layers and hit attach!
How to create a Happy New Year Headband
Next, load your paper on the light blue grip mat. Be sure to adjust your material dial to the card stock option. If you’re using heavier weight card stock, be sure to change the pressure.
Depending on the size of the card stock used, headband size, and if following the measurements of design above, you should be able to get about two phrases cut per paper (smaller designs more).
How to put the New Year’s Eve Headband together:
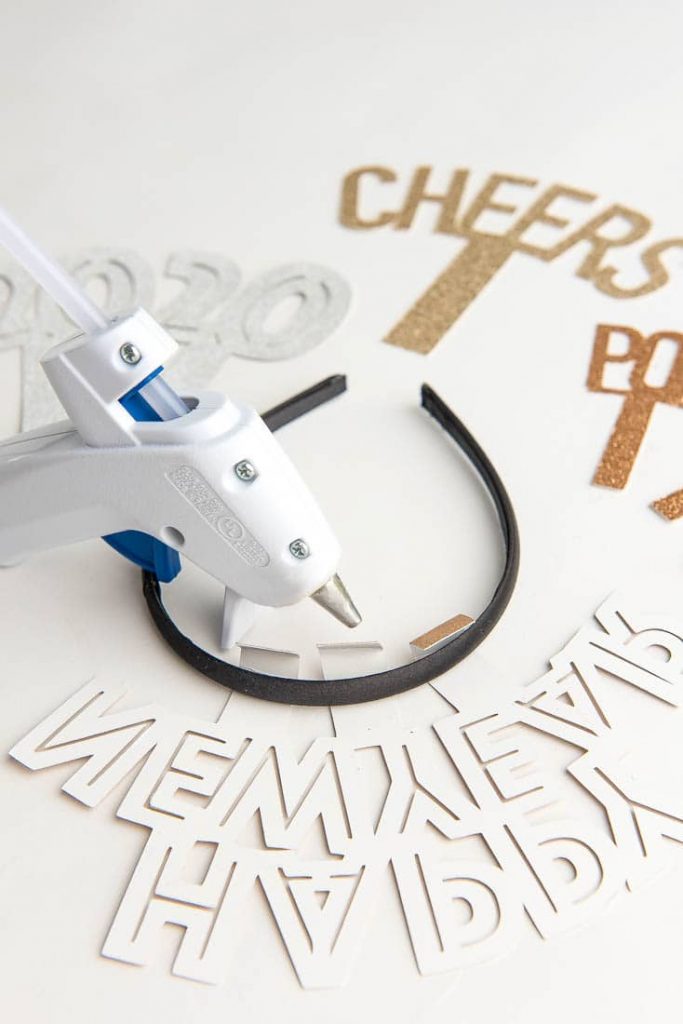
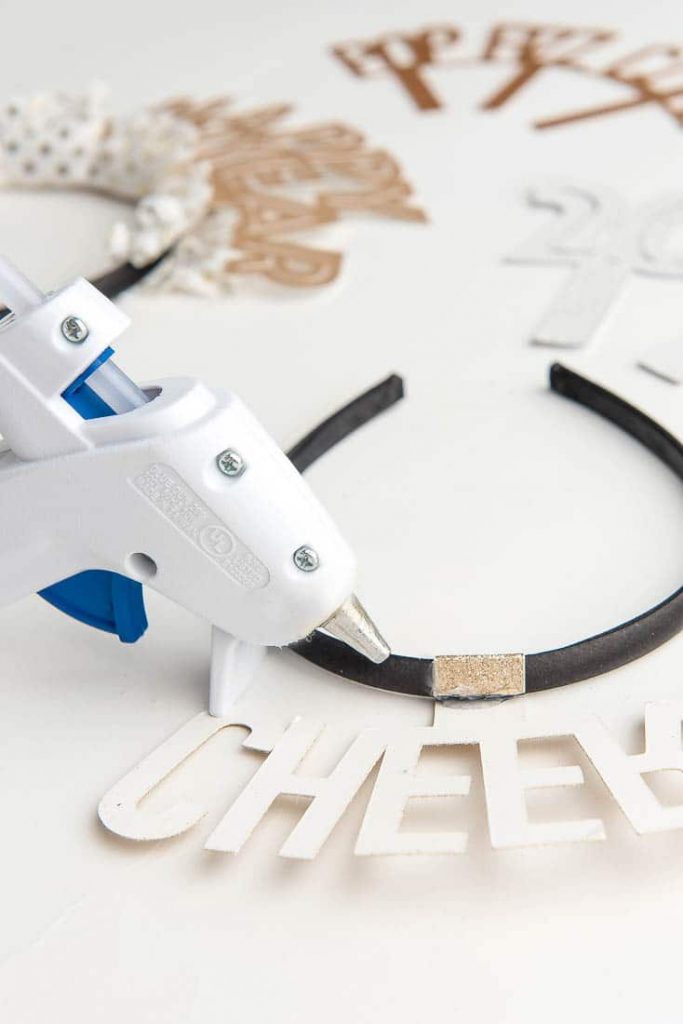
Once your project has been cut. Flip the design over and under the headband. Line up your cut design in the middle of the headband.
Use the cut tabs at the bottom of the design to fold up and over the headband to help attach the phrase to the headband. Be sure to leave about half an inch to an inch for the frayed tissue paper.
Hot glue the tabs on the design to the front of the headband. You may want to put a bit of glue behind the letters as well to help keep them in place.
If using a skinnier headband and there is an extra amount of tab after gluing, use scissors to cut off the excess amount. The design is made for both thin and thick headbands, and the gluing tab is there to accommodate both.
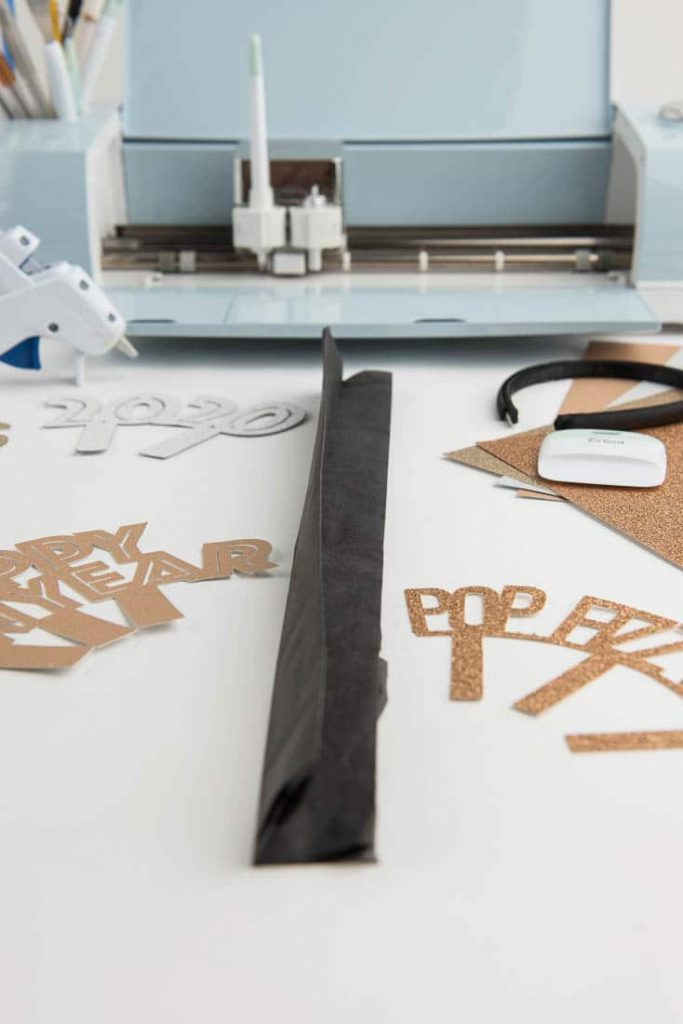
Next, cut a sheet of tissue paper in half. Fold that in half once more, then again. You will have a long sheet of tissue paper creating a “V” channel for your headband to eventually sit inside.
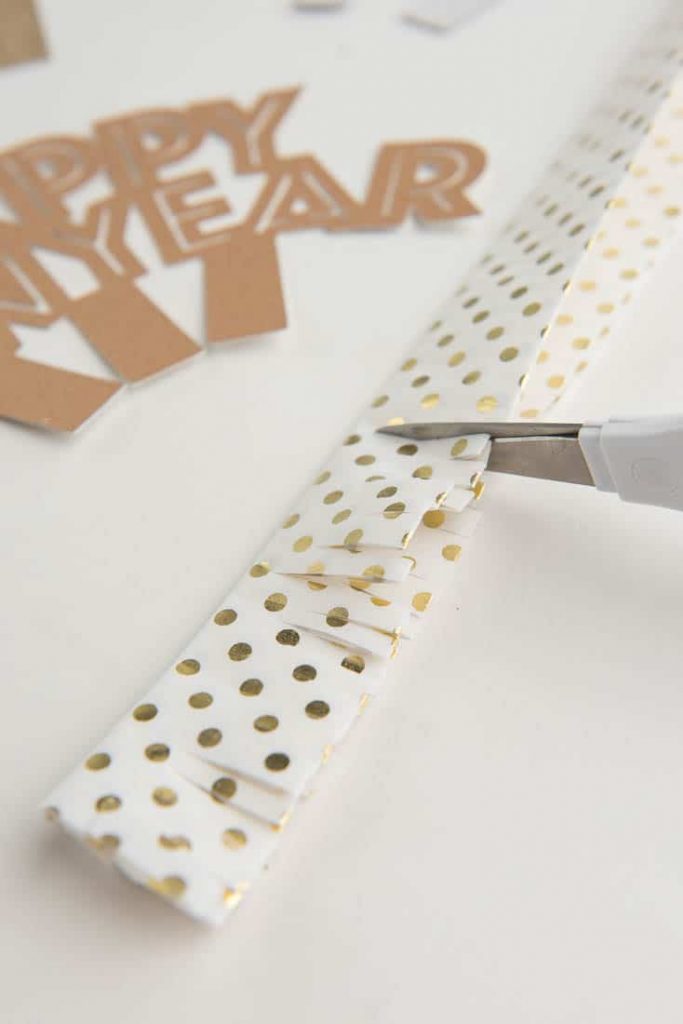
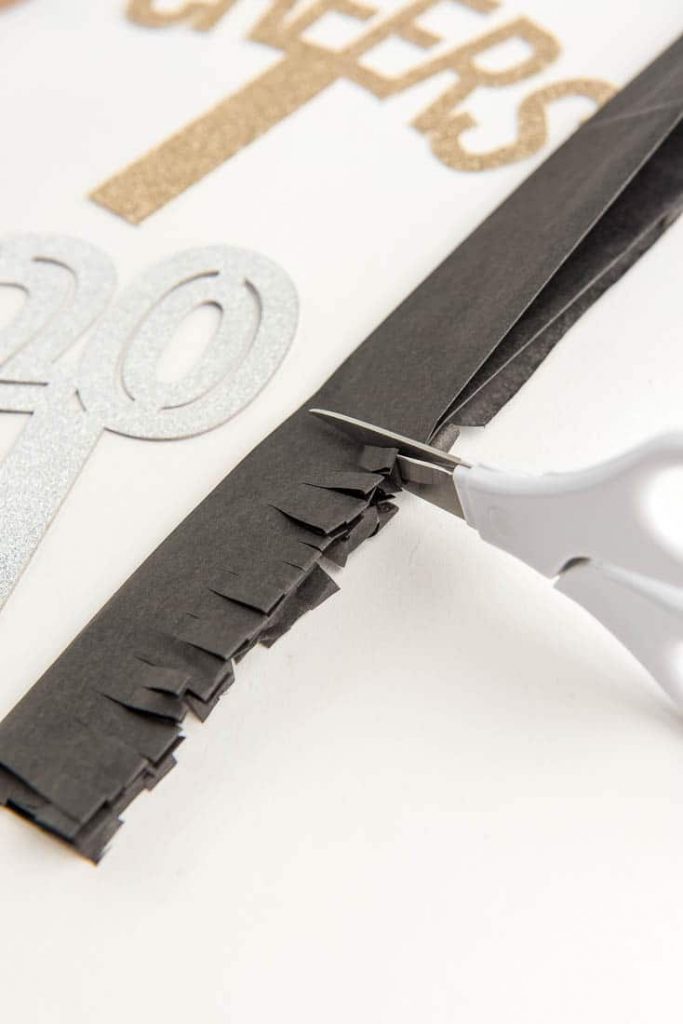
Take scissors, and while the tissue paper is folded, begin to fray the tissue paper half down the open or non-folded side.
Once the tissue paper is frayed, measure how far the tissue paper will reach down the headband and cut off any excess.
Open the tissue paper channel created for the headband. Hot glue to the bottom, the underside of the headband.
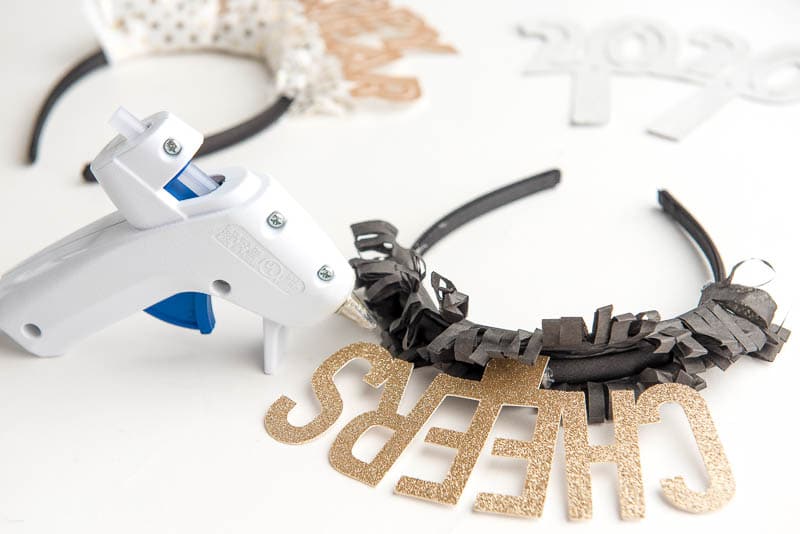
After everything is glued, fluff the fringes to help hide the tabs previously glue to hold the phrase on the headband.

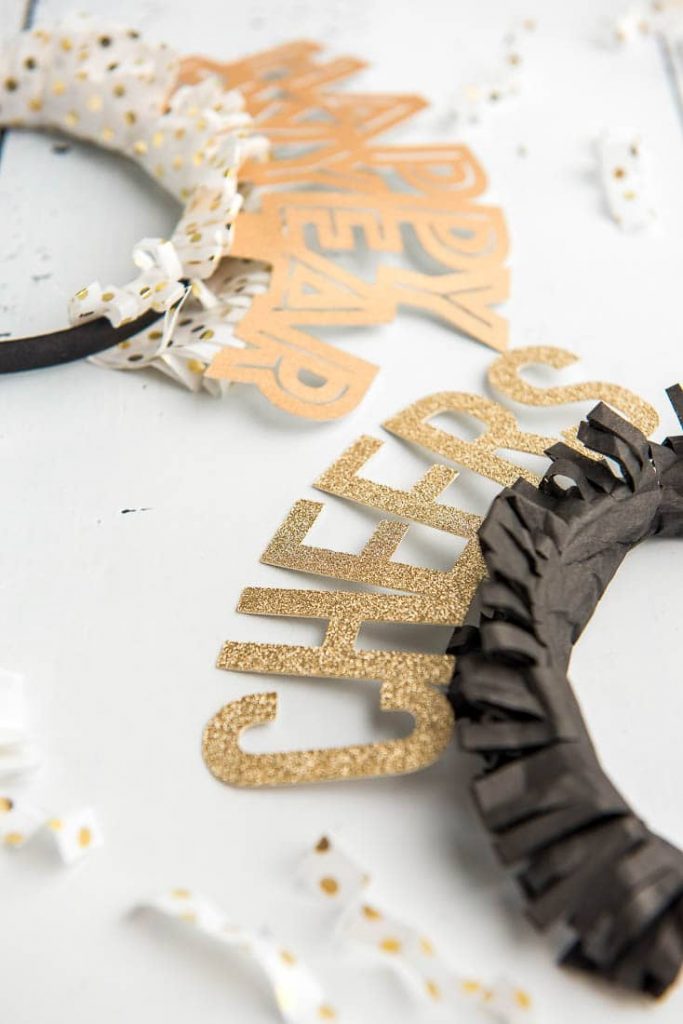
Now you’re ready to party in style with your very own Happy New Year headband (or pick another saying to put on your headband)! With a variety of choices, you can make a headband for yourself and your friends + family.
This easy DIY Cricut project can be made within a short amount of time, just in time for your New Year’s Eve party!
Be sure to check out other ways to get ready for your party with our drink and appetizer suggestions!
17 Appetizer Ideas For New Year’s Eve
23 Awesome New Year’s Eve Kid Party Ideas
The Resolution Cocktail made with Sambuca Liqueur
46 Non-Alcoholic Drinks + Mocktail Ideas To Serve At Parties
New Year’s Eve Bucket List | 15 Things to Do Before Midnight
10 Tips for Sticking with your New Year’s Resolutions + FREE Printable
Find more Cricut projects below:
DIY Cricut Wooden Serving Tray for Hot Cocoa
DIY Coffee Mug With Vinyl Statement Using A Cricut


Sue says
This is great – thank you for sharing. Do you sell the font that you used for “happy new year”?
T Worthey says
Hi Sue! Unfortunately, I don’t. Thanks for stopping by, Happy New Year!